How to Complete a DIY Garage Makeover

4 Steps to a Complete Garage Makeover DIY Style
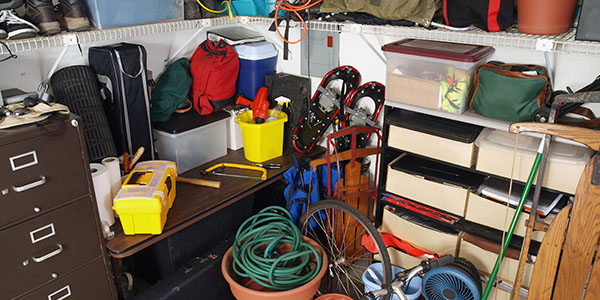
Maybe you’ve been here: it’s the middle of summer, you’re in the back of your garage, looking for who knows what. You struggle to find said item amid all the clutter. On top of that, you haven’t used this "thing" in years. You know what? It’s time to do something about it. It’s time to clean out your garage, and while you’re at it, it’s time to redo those floors. A full DIY garage makeover is on the docket.
Are You Prepared to Take on a DIY Garage Makeover?
A garage makeover isn’t always an easy process but is often a top priority when it comes to home renovations. Removing the clutter, redoing the floor and adding storage might even create a room you’ll want to spend time in. At the least, you’ll be able to find that weed wacker or snow plow.
Over the course of this post, we’ll weigh the pros and cons of completing each task the do-it-yourself way and the calling-a-professional way. To determine the best practice, we factored in price, efficiency and potential for quality work. You must also consider your own experience in DIYing.
Step 1: Junk Removal
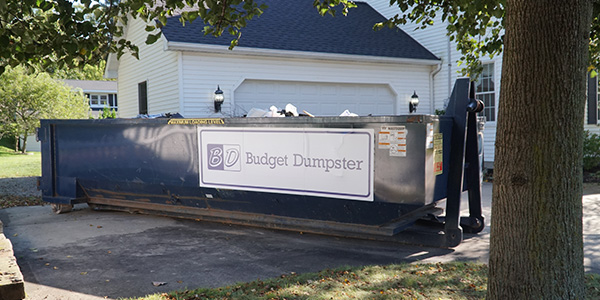
Chances are you have a lot of “stuff” in your garage. From sports equipment to lawn care tools to boxes from when you moved in five years ago, the list can go on and on. We found the best way to take care of this problem is to simply remove it all. Placing every single item in your driveway or yard, unless it’s hanging up on a wall, will help you reset and prep for the floor coatings.
This will also give you the opportunity to sell or donate items you no longer need, throw away useless items and move the rest temporarily. We suggest doing this with a crew of family or friends and calling upon professional services, like a roll off dumpster, if necessary. A group of people and means to get rid of some junk will make this job quick and easy.
Junk Removal Guidelines:
- Do it yourself (or preferably with a group of people).
- Place items in a secured spot away from the garage.
- Donate unused items in good shape.
- Throw away items collecting dust or damaged.
Step 2: Preparation
Now that your junk is out of the way, it's time to really prep for the upgrades you plan on making. Most of this step requires hands on, small tasks that you can knock out in a few hours and possibly a trip to your local hardware store. Here are the biggest responsibilities you'll have:
- Replace any old drain caps or floor cover plates - If they're at all rusted or show some wear and tear, purchase new ones. At the least, do some general cleaning.
- Update garage door seals - Ensure they're properly functioning and fit your desired look. Replace them if they don't check these boxes.
- Remove floor fixtures - If it's not built into the wall or cemented to the ground, get it out. This includes cabinets, sinks or even appliances.
- Reschedule home maintenance projects - You'll want to schedule a few days where other tasks can be put on hold. Block out time for garage related tasks only.
Take the time to prepare your garage for a floor coating or any other major renovation project. This will help increase efficiency and the quality of the finished product.
Makeover Preparation Guidelines:
- Do it yourself.
- Complete all small tasks.
- Clean items remaining in the garage.
- Plan major renovations.
Check Out Dumpsters Near You
Step 3: Floor Coating
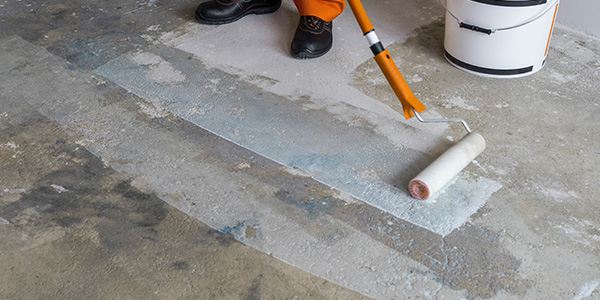
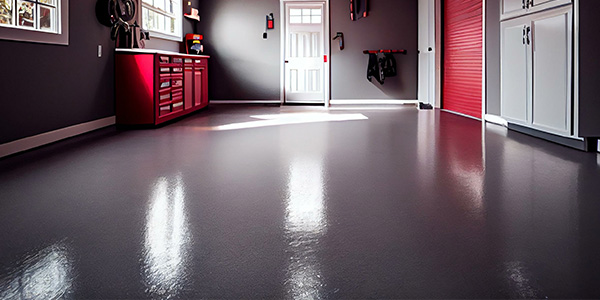
The hardest decision you'll have to make in a complete garage makeover is whether you want to take on applying garage floor coatings yourself or hire a professional to do so. There are advantages to both and each have a wide range of options. Plenty of big box store retailers offer DIY epoxy garage floor kits, and there are numerous online tutorials to back them up. Professional garage floor coatings offer unparalleled quality and, of course, make the work easier on you.
Money is almost always the determining factor of why people decide to redo their garage floor themselves. Overall, prices vary heavily depending on where you’re located in the United States.
- Professional decorative chip coatings cost between $5 and $7 per square foot.
- Professionally done solid color epoxy coatings typically cost $4 to $5 per square foot.
- DIY kits range from $200 to $800 for 400 to 600 square feet of space.
DIY kits win out on short-term price, cutting the cost in half or more, but you also need to consider the longevity of the product. As is so often the case, you get what you pay for. Professionals apply a superior product that will last longer. The difference is noticeable on day one, and it will last for years down the road. In the end, the long-term cost is close to equal and may even favor calling a pro.

"Professionally, most garage floor coatings take only 2 days. If extensive damage is present, an additional day or two may be required to complete all surface restoration prior to coatings application. Most DIY kits will take 2 to 5 days to complete. It’s dependent upon the number of layers in the kit."
Mike Mincemoyer of Stronghold Floors
Garage Floor Guidelines:
- Do it yourself to save money, hire a pro for quality.
- Do your research on companies and/or quality of kits.
Step 4: Adding Storage Space
Before you start packing your lawn equipment and golf clubs back into the garage, consider building cabinets and/or storage space. This will virtually erase the terrible feeling we talked about at the top of the post (digging for hours for seemingly the only item you can’t find). The decision to either go the DIY route or to call someone with more experience, hinges on your personal knowledge and skill. If you can follow the video below, you're likely a fit to do it yourself.
A series of storage shelves can be built relatively easily and in a short amount of time. This will help you go vertical with paint products, lawn chairs and the many other items that are sparingly used in your garage.
Storage Space Guidelines:
- Do it yourself if you have previous experience.
- Plan shelving and storage according to car placement.
- Add hooks for additional vertical space.

