How to Install Crown Molding Like a Pro

DIY Guide for Installing Crown Molding
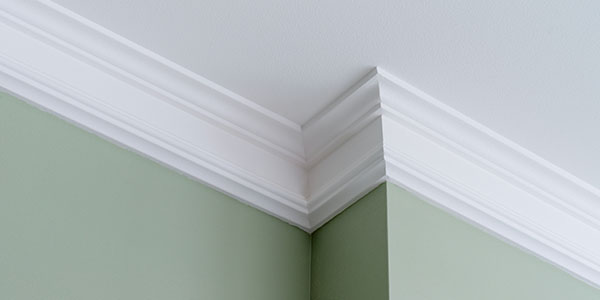
Imagine your room as a cake. Crown molding is the icing. Installing crown molding is a tasteful way to make any room in your home more elegant. The personalized touch of crown molding is one of the most visually appealing, yet most difficult DIY carpentry projects to take on.
Keep in mind that do it yourself crown molding is a project for advanced DIYers. Those with limited carpentry experience may want to consult with a contractor first.
Ambitious DIYers, learn how to cut and install crown molding by following our step-by-step guide with tips from the pros.
1. Choose Your Crown Molding Material
From solid wood and MDF to polyurethane and PVC, there are a wide variety of crown molding materials to choose from. Make sure to research your options before jumping into installing crown molding.

“Most moldings will come to the job at about 10% MC [moisture content], which means they’re pretty good to install, unless it’s winter time and the home is heated with a wood stove, then I’d allow the material to ‘acclimate’ until the MC is 8% or lower, especially for crown which is installed near the ceiling–the warmest, driest part of the home.”
Gary Katz, THISisCarpentry
2. Determine Your Crown Molding Style and Size
It is important to choose a design that aligns with your home’s existing décor. Ornate wood designs generally compliment mid-century homes. For newer or more modern homes, most opt for sleek, cleaner lines for a simpler style.
When choosing molding size, consider the height of your ceilings to find the width that best compliments your space. For a standard 8-foot ceiling, a smaller sized crown molding is recommended. If you have a higher ceiling, you might choose a wider molding to make a stronger statement.

Quick Tip
Crown molding that is too tall can feel overbearing. Conversely, if too small, it might seem out of place.
3. Measure Your Walls and Corners
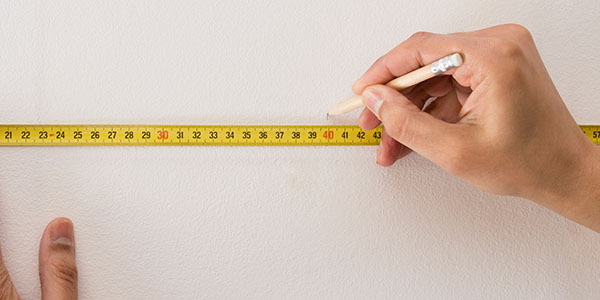
Be as precise as possible when measuring. When purchasing crown molding, it is recommended to round all measurements up to the nearest foot to account for cutting and trimming.
Measure the corners of your room with a protractor. Most walls should measure to 90 degrees. If your wall’s corners are not a perfect 90 degrees, don’t worry. Keep in mind that small gaps or imperfections can always be caulked later on.

Quick Tip
The general rule of thumb is to divide the corner’s measurement by two to find the angle at which you will cut the two joining pieces of molding. This same rule applies for trickier corners like walls surrounding bay windows or accent walls.
Taking on your first ever DIY project at home?
Our guide has tips and techniques for first-time homeowners!
4. Cut Crown Molding to Size
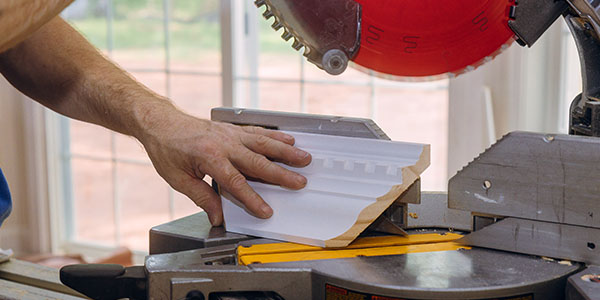
Since crown molding often sits at a 38-degree angle against the wall, it is recommended that you use a jig to cut accordingly. Rest your piece of crown molding on the jig to keep it securely in place, avoiding slips and imperfections.

“When you take the crown and reverse it, the base of your saw becomes the ceiling. Keep that in mind every time you load a piece into your saw.”
Gary Katz, THISisCarpentry

Quick Tip
Sketch a map of the room on a sheet of paper with each wall’s measurements to reference while at the cutting table.
Cutting Outside Corners
Miter-cuts are used to join crown molding at outside corners.*
- Cut the inside corner at a 45-degree angle to the left.
- Use measuring tape and a pencil to mark the desired length to trim the opposite end.
- Rotate the saw to 45 degrees to the right before cutting the joining molding piece.
- Cut the joining piece of molding and test the fit before nailing to the wall.
*Note that the measurements provided in this example are for a 90-degree outside corner.
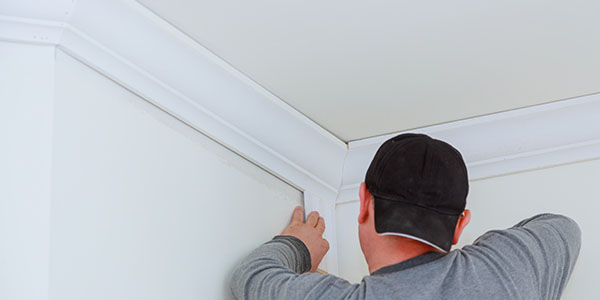
Cutting Inside Corners
Coping cuts are used to join pieces of crown molding at inside corners*, often referred to as “coping the joint.”
- Cut the first piece of molding at a 90-degree angle with square ends, running the full length of the wall and meeting at the adjoining corners.
- Before coping the next piece, expose the molding’s profile by cutting an inside miter at 45 degrees.
- Mark the front edge of the miter with a pencil. With a coping saw or a jigsaw, cut at a slight tilt as close to the edge of the miter as possible. Start by cutting slowly to avoid splintering or damaging the edge.
- Test the fit by joining the coped piece of molding against a piece of scrap molding. Use sandpaper or a file to create a better fit if necessary.
*Note that the measurements provided in this example are for a 90-degree inside corner.
Cutting a Scarf Joint
A scarf joint, or straight run, is an overlapping, angled cut used to join two pieces of molding across a long wall.
- Adjust the saw for a 45-degree miter cut to the left, if you’re working counterclockwise around the room; or to the right, if you’re working clockwise.
- Cut the joining piece of molding at the opposite angle to overlap.
- Test the fit before installing by joining the two together.
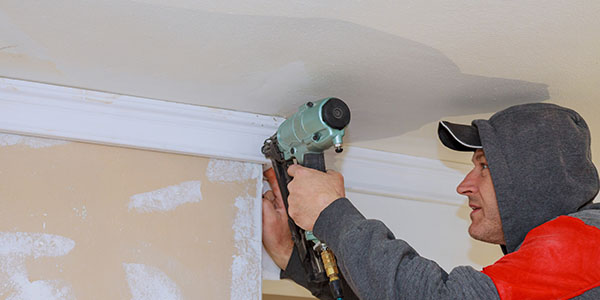
5. Nail Crown Molding into Place
Dry fit the piece against the wall and ceiling first to make sure that it fits snugly before installing crown molding. Once satisfied with your cut, place wood glue along the edge of the corner and join it with the neighboring piece. Nail it into both the wall and ceiling about every 16 inches, or the distance between each stud.
6. Touch Up Nail Holes and Imperfections
Dab a wall repair compound onto the tip of your finger and use it to fill in nail holes. In joining corners or against the ceiling, use paintable caulking to fill any gaps or imperfections.
As walls expand and contract with weather changes, the paintable caulking expands with it to lessen the appearance of cracks.
7. Your DIY Crown Molding is Complete!
All that’s left to do is sit back and enjoy your elegant additions. Don’t forget to give yourself a pat on the back for adding crown molding to your room all by yourself.
Thinking about a whole house renovation next?
Be sure to plan ahead so you don't get overwhelmed!


