A Fresh Perspective: Make and Hang a DIY Window Planter Box

How to Make and Hang a Window Box
There are many ways to liven up your outdoor aesthetic. Hanging a window box is an easy way to add some flower beds and a splash of color and life, even if you’re short on space. It will also add curb appeal to your home and creates visual interest in what might otherwise look like a plain exterior wall. If you want to create a more vivacious home on a budget, try building and installing a window flower box. This is an easy, cost-friendly way to freshen up your home. Our simple guide will teach you how to make a window box and hang it on a budget.
Gather Tools and Materials
Before you get started, you’ll need to get all the tools and equipment to build and install your window box. The tools you’ll need will vary depending on whether you’re planning to use a drill to install your planter into the side of your house or hang it from hooks over your window sill.
Tools to Build a Planter Box | Additional Tools for Installation |
|---|---|
| Materials Needed to Hang With a
|
Materials Needed to Hang Without a Drill:
|
Note: The no drill installation method avoids drilling into your wall but will still require a drill to attach the hangers to the box.
How Much Does It Cost to Build and Hang a Window Box?
The price of your project will vary depending on the tools you already have. The most expensive piece of equipment for this project is a miter saw, which ranges from $90-$200. The second most expensive piece of equipment is the drill with hammer action, ranging from $30-$60. All the other materials combined generally run between $40-110. This means the grand total for your project should cost no more than $370.
You can also cut costs by renting equipment from a home improvement store, buying them second hand or borrowing them from a friend. If you just need to purchase the wood and hardware, your final price should range between $160-$310.
How to Make a Window Box in 4 Easy Steps
1. Choose the Right Wood for Your Window Box
We recommend using cedar wood for your DIY window planter box. Other woods can quickly rot or get damaged by rain. Cedar wood has a higher resistance to water so it’s less likely to rot, and it’s strong enough to support the weight of your plants.
2. Measure and Cut
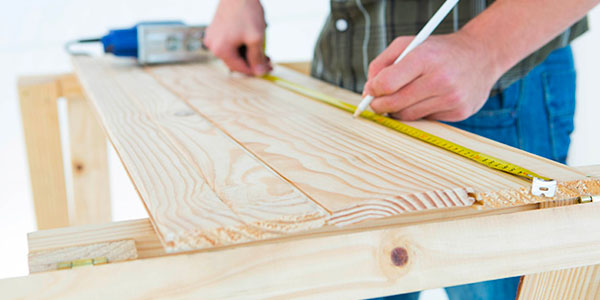
Now that you have your wood, you need to decide how long you want the planter to be. Most flower boxes are either the same length as the window or slightly shorter. Measure and mark your wood where you want to cut it. Start with the board you’ll be using as the bottom of the box. Once you’ve decided how far you want the box to stick out from the wall, mark the appropriate measurements on the board. Using the miter saw, cut along the markings. Next, measure 2 planks of the same length to use as the front and back of the box. These planks should be the same length as your bottom board. For the height, we recommend about 25% of the height of the window.
For the sides, measure out the width of the bottom so you know how long to make them. The height should match the front and back boards. Then, measure the thickness of the front and back planks. Subtract this measurement from either end of your side boards. Next, measure the thickness of your bottom board to subtract from the height of your side planks. The idea here is to make sure the side planks fit neatly between the front and back of the box. Mark your measurements and cut. Your side planks will slide smoothly into your box frame.
3. Create a Frame
To assemble the planks into a box frame, lay the bottom board flat. Stand the front and back planks on their sides so you can see where they will fit. Use the polyurethane-based glue to adhere these two planks to the bottom board. Then slide the smaller side boards into place. Lift them up and put down glue to secure them to the bottom. In approximately 24-36 hours, the glue will be completely dry. Drill at least 4 screws into each side of the box. Drill through the front board into the side boards. Repeat with the back board into the side boards. Then drill at least 4 more screws through the bottom board into the side board. Space these out so they’re an equal distance from the corners and the center. You now have a sturdy, secure window box.
4. Seal It In
Spray the wood with 1-2 coats of finishing spray to prevent wear and tear from moisture. Wait for it to dry before hanging the box. You can also paint or stain the box to give it a look and feel that matches your home.
How to Hang a Window Box
How to Attach a Window Box: 6 Steps With a Drill
Whether you’re working with a brick wall or vinyl siding, we’ll help you drill your new window box into the side of your home. While drilling into a wall is slightly more complicated than using a hanger, this tactic gives the box a floating shelf look for a polished result.

Pro Tip
Enlist help from a friend for the following steps. It’ll be easier to get the job done with one person holding the box and one person measuring, marking and drilling.
1. Measure and Mark
Measure the length of the box and window to figure out how to center the planter with the window frame. Have one person hold the box slightly away from the wall in the center of the window while the other marks 2-3 spots on the wall where you’ll need to drill. Make sure the marks are evenly spaced out to distribute the weight of the box. If the outside of your home has siding, you may need to remove a few strips to locate the studs in your wall. Use a stud finder, then mark where the studs are — this is where you’ll drill. If you are drilling into brick, you do not need to drill into a specific area of your wall.
2. Line Up the Box
Align the box with the marks on the wall. Once you’ve settled on a window box placement, transfer the marks onto the box. Make sure the box is centered when you transfer these marks.
3. Drill Holes in the Box
Carefully drill holes where you marked the box. Note that you are not drilling through the box into the wall at this point – you are just drilling holes into the box itself.
4. Check Your Work
Line up the holes in your box with the marks on your wall. Double-check that the box is centered under the window. If you need to re-adjust, make new marks on your box and drill again.
5. Use the Drill Bit
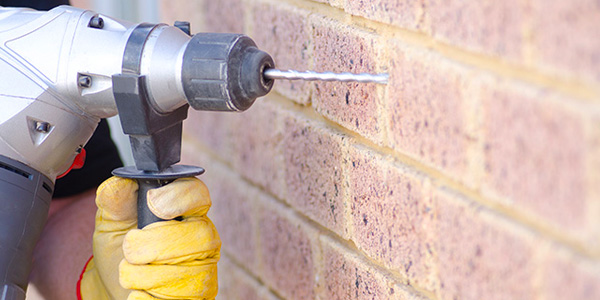
If you’re attaching your window box to a brick wall, use the masonry drill bit and the hammer action feature on your drill to make your holes into the brick wall. If you have siding, you can simply drill through the siding where your box will attach to the wall behind it. These pilot holes should be slightly smaller than the diameter of the screw you’re using. If you have ¼ inch diameter screws, you should use a 5/32 drill bit. This will ensure that your window boxes stay fastened to the wall.
6. Secure the Box
Align the holes in the box with the holes in your wall. Drill a screw in through the box and the wall, fusing them together. Now your window box is ready to hold your plants.
How to Attach a Window Box: 3 Steps Without a Drill
The steps to attach a no drill window box are similar. While you’ll still need a drill to add hangers to the back of the box, you’ll be able to avoid drilling any holes into the walls of your home. This method is usually better if you’re renting your house or living in an apartment.
1. Choose Your Hangers
Before choosing your window hangers, estimate how heavy your box will be after you’ve filled it with plants. You can estimate the weight by multiplying your window box’s length by its width by its depth. Take these measurements in inches and then convert your final number to cubic feet. Bags of topsoil will often tell you the weight per cubic foot, so you can use this number to select hangers that handle that weight.
2. Line Up Your Box
Like the drill option, line up your flower box with your window. Make sure it’s centered and line up the back board with where you need to drill the hangers into the box.
3. Attach the Hangers
Glue hangers to the back of the box. Once the glue has dried, drill the screws through the hangers into the box. With the hangers secured, rest the hooks over the window sill. Now you have a beautiful planter box outside your window and you didn’t have to damage your walls.
What Are the Best Plants For Window Boxes?
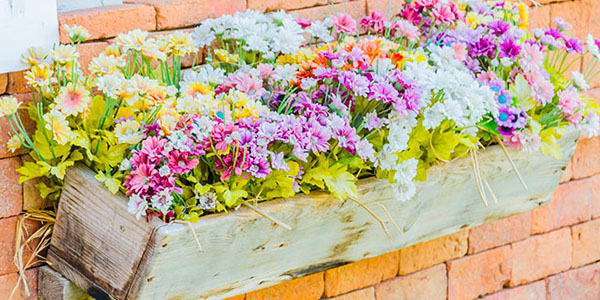
There’s no right answer here. It all depends on whether you want your window boxes to be purely decorative or somewhat practical. If you want flowers to brighten up your curb appeal, petunias, marigolds and begonias are some common options. Or, you might choose flowers to match the color and aesthetic of your home. If you’re looking to grow a garden of herbs and vegetables you can cook with, plants like tomatoes, peppers, mint, parsley and basil grow well in window boxes. In general, you’ll want to choose compact plants that can fit in small spaces.
Wondering how to get rid of your yard waste? Check out our complete yard waste disposal guide!


