Two Easy Ways to Build a DIY Kitchen Island
How to Build a Kitchen Island
You know what they say: island living is good living – and nowhere is that truer than in the kitchen.
Kitchen islands make it easy to organize kitchen materials, prep meals and provide additional seating, all at once. But the average cost of a professional kitchen island can range from $1,000 for a pre-made island to $7,000 for a custom job. If you’re looking to save on your next kitchen update but want an island that’s tailored to your style and needs, you can easily cut costs with your own DIY kitchen island.
From mobile kitchen carts to quaint breakfast bars, there are many kitchen island designs to choose from, depending on the space you have to work with. In this tutorial, we’ll walk you through two of the most popular DIY kitchen island designs: a base cabinet island and an upcycled dresser island.
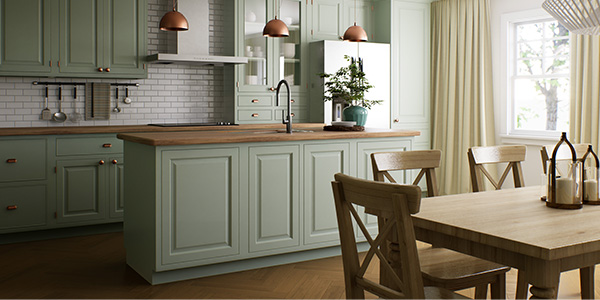
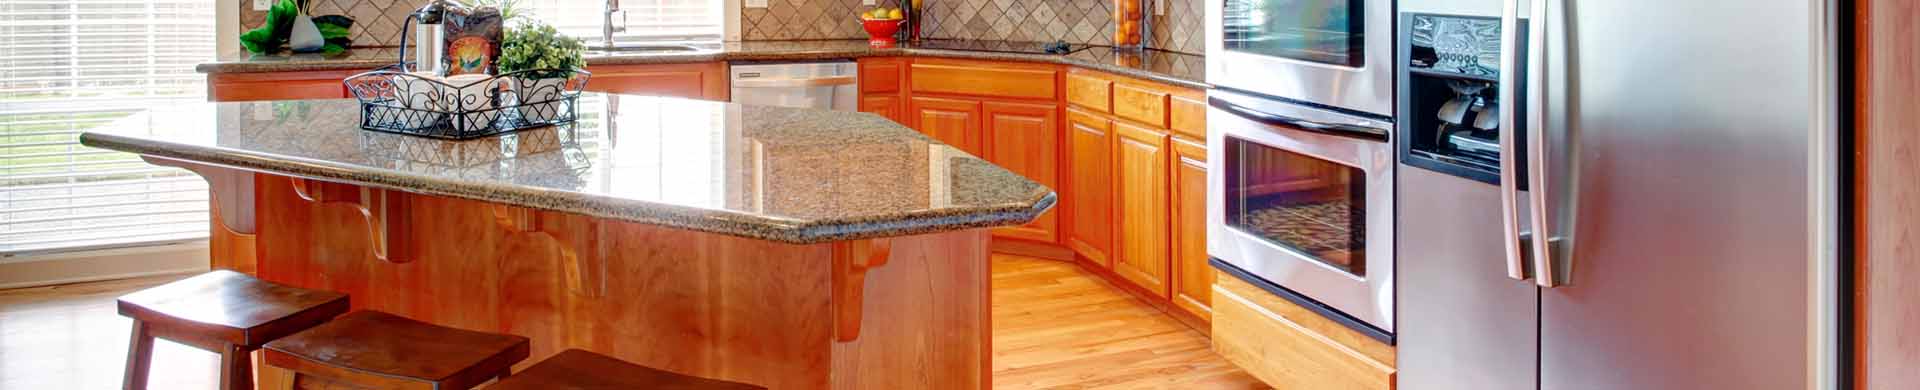
How to Build a DIY Kitchen Island Using Base Cabinets
Step 1: Gather Your Materials
It’s important to have some kitchen island plans, especially when you’re building something permanent. When building a kitchen island using base cabinets, experts recommend permanently fixing the island into the floor for safety reasons. Therefore, it’s important to choose cabinets that are going to last, according to design specialist Robin Kiernan of Just Cabinets:
“Many standard home improvement store cabinets have particle board or cardboard backs – you don’t want to install something permanent that might fall apart. You want to make sure it’ll stand the test of time, so be sure to choose a cabinet that’s made entirely of quality sourced lumber, like Fabuwood cabinets for example.”
Robin Kiernan, Just Cabinets
Materials You’ll Need to Build a Kitchen Island With Base Cabinets
- Assembled base cabinets
- Two 8-inch two-by-four planks
- Wooden shims
- Power drill
- #8 x 2½-inch cabinet screws
- #8 x 5/8- inch screws
- Clamps
- Level
- Stud finder
- Sander, paint and primer
- 1 ½-inch steel angles
- Finishing accessories
Step 2: Find the Best Spot for Your DIY Kitchen Island
Because this design is permanent, make sure you like the size and placement before beginning. Allow anywhere from 42 to 48-inches of space on all sides to make room for foot traffic.
You can create a cardboard stencil of your new stock cabinet kitchen island and move it around until you find the right location. Keep in mind that if you’re working over hardwood, you’ll have to eventually attach your island to the floor joists beneath the subfloor; use a stud finder to locate them and line your island up accordingly.
Step 3: Connect Your Cabinets
If your DIY kitchen island is made up of more than one cabinet, you’ll need to attach them together:
- Line your cabinets up, using a level to ensure they are flush with one another – use wooden shims to correct any unevenness.
- Use two clamps (one near the top and the other near the bottom) to hold them in place and drill a 1/8-inch pilot hole in the frame adjacent to each door hinge.
- Fasten the cabinets together through their face frames using #8 x 2½-inch cabinet screws.
Never connect cabinets through the side panels, as they cannot hold the weight and may come apart, ruining your island. Also, it’s best to take doors and drawers off of your cabinets until you’re finished installing.
Step 4: Fasten Your DIY Kitchen Island to the Floor
Once you’ve connected your cabinets, fix them to your flooring.
How to Anchor a DIY Kitchen Island to the Floor
- Cut two 8-inch two-by-fours for your mounting blocks. If your island is on the longer side, you can cut longer blocks.
- Place the cabinets in their spot. Mark a line on your flooring along the toe-kicks on front and back of your island.
- Just behind the lines, fasten your mounting blocks to the floor, leaving room for the width of the toe-kick. If over hardwood, use long wooden construction screws that will reach through your subfloor. If over concrete, use concrete anchors and a hammer drill.
- Place your island over your mounting blocks; your mounting blocks should fit just inside the toe-kick area.
- Secure your cabinets by screwing through the toe-kicks into the mounting blocks.
For more guidance, check out how the pros at Landberg Tile DIY used this method to secure their own DIY cabinet island.
Step 5: Install Power Outlets
National Electrical Code (NEC), requires permanent kitchen islands to have an electrical outlet to stay up to code and to prevent potentially dangerous mishaps, according to Kiernan:
“If you are bolting your DIY kitchen island into the floor, you need to bring it up to code and put electricity in, for safety reasons. An island is most likely the place you’ll be using appliances like mixers or griddles. You don’t want to run the plug across the walkway to power them – someone could hit the cord and send hot things flying.”
Robin Kiernan, Just Cabinets
Check here to see if your state uses NEC standards. If it does, you’ll be required to install power outlets in your new island. But even if it doesn’t, it’s probably worthwhile to install them – it’s better to be safe than sorry.
Speaking of safety, if you don’t have much experience with electrical work, hire a professional electrician to handle this part of your project.
Step 6: Add the Finishing Touches
Here are a few quick tips for finishing up this DIY kitchen island:
Attach Kickboards: If your cabinets have a recessed toe-kick, you’ll need to hide the supports underneath by attaching a kickboard.
Add Beadboard: Not a fan of the plain sides on your new island? Adding beadboard is an easy way to incorporate an interesting design element into your new fixture.
Primer, Paint and Drawer Pulls: Time to make your new DIY kitchen island shine with a fresh coat of paint and primer. For durable protection against stains and other kitchen-related damage, be sure to use a satin latex paint. Then, install your favorite metal drawer pulls.
Mount Corbels: Corbels are pieces of metal, stone or wood that extend from the side of your cabinet to support the weight of an overhanging countertop. For granite overhangs, you can also use a steel support plate. Most overhangs longer than 9 inches require some kind of support to prevent them from cracking off.
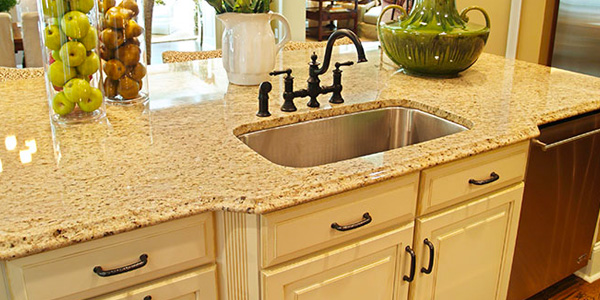
Install a Countertop: Your choice of countertop depends on the function of your island, your budget and your own personal tastes. Granite is popular due to its durability and moisture resistance, but it can be expensive – between $60 and $100 per square foot. Butcher block countertops are also gaining popularity but need regular cleaning to maintain them. Whatever material you choose, be sure to do a little research beforehand.
We asked the experts over at bestonlinecabinets.com for their advice on installing a countertop for your DIY cabinet island:
“Installing your own countertops over your cabinets is a great way to save money! To install countertops on your own, you’ll first need to make sure you have the right measurements. You might need to use a handsaw to trim the countertop to the right length. When you attach the countertops to your cabinets, use 1-½ inch steel angles with #8 ⅝-inch screws for a tight fit.”
Ashley Lipman, BestOnlineCabinets.com
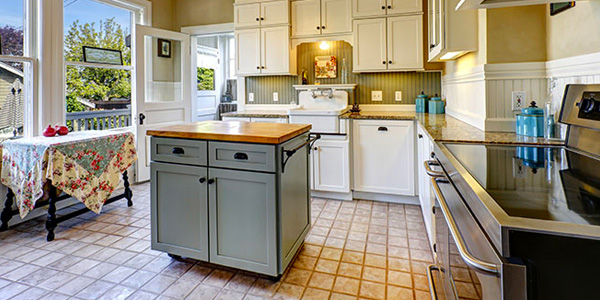
How to Build a DIY Kitchen Island From a Dresser
Step 1: Find the Right Dresser and Materials
Choosing the best DIY kitchen island dresser takes a little planning. Large, deep dressers are great for a semi-permanent kitchen island, while smaller end table dressers could be used as a mobile work cart. Check Craigslist or LetGo for items that are free to a good home, and have a tape measure on hand when you pick it up.
You’ll need to leave about 42 to 48 inches of clearance around your island, so choose a dresser that fits within that area of your kitchen.
Materials You’ll Need for a DIY Dresser Kitchen Island
- Sander, paint and primer
- Wood or plywood boards
- Screwdriver and/or drill
- Level
- Tape measure
- Rubber casters (optional)
- Finishing accessories
Step 2. Sand, Prime and Paint
Brighten up your old dresser with a fresh coat of paint. Sand away any old paint and rough edges thoroughly so your paint will stick. Wall paint works just fine on wood furniture, so feel free to use any leftover paint you might have lying around as long as it can handle cooking wear and tear.
Latex satin paints are a great choice for a dresser turned kitchen island, as they resist stains better than flat paints.
Step 3: Prepare Your Shelving
Make easy-access shelving in your DIY kitchen island by removing and replacing the bottom drawers with wood or plywood boards.
Remove the drawer tracks using a screwdriver or drill, sand the frames, measure the drawer space and cut your boards to size. Then, you can paint your boards with a waterproof paint, line them or cover them with a durable material like cork before placing them in the frame.
Looking to remodel the rest of your kitchen? Learn the average costs of each aspect of a remodel with our guide!
Step 4: Install Your Countertop
Whether you’re building a kitchen island with base cabinets or a dresser, the countertop considerations are the same: it depends on how you’ll use it, your budget and your design preferences.
However, Kiernan does offer one major safety tip for dresser island countertops:
“No overhangs for dresser kitchen islands – I do not recommend an overhang unless an island is permanently bolted down. A kid could climb on the island and get hurt by toppling it onto the floor or by snapping the overhang off.”
Robin Kiernan, Just Cabinets
Step 5: Attach Wheels for a Mobile Kitchen Island (Optional)
You can install casters for a DIY kitchen island on wheels. Rubber casters with are the best choice for a kitchen island, as they won’t slide and won’t scratch your flooring. Purchase locking casters so you can stabilize your mobile island when needed.
If your dresser has legs, you can use stem-mount casters. These are wheels that have metal, usually threaded, stems at the top, which can be screwed into the legs of your dresser.
If your dresser has a flat bottom, or its legs aren’t sturdy enough to install stem-mount casters, you’ll have to saw them off and install plate-mount casters. Plate-mount casters are wheels attached to flat metal plates, which are screwed into the flat bottom of your furniture.
Step 6: Customize Your DIY Kitchen Island With Bonus Features
Make the most of your new island by adding a few bonus features onto the sides:
Coat hooks: Hang pot holders, ladles and other cooking accessories.
Paper towel holder: Makes your island cleanup central.
Towel rack: Dries wet dish rags with ease.
Magazine holder: Keeps cookbooks or your tablet within arm’s reach.
Tablet wall mount: Displays your favorite Tasty videos without taking up countertop space.
Spice rack: Keeps your favorite flavors on hand at all times.
If you plan on using cooking appliances on your new island, you might want to invest in a long, multi-outlet extension cord and a floor cord cover. Though non-permanent kitchen islands aren’t required to have outlets, this is a good way to prevent messy or potentially dangerous accidents. Choose a grounded, three-pronged cord that’s plenty long enough to reach the nearest wall outlet, and a floor cover that spans the width of the walkway.
Design a DIY Kitchen Island That’s Right for Your Home
Whichever design you choose, make your DIY kitchen island work for your needs. Looking for extra counterspace that can be tucked away in your studio apartment? A small dresser on wheels would be ideal. Or maybe you need a larger space for your herd of little helpers – a wide, permanent island with an overhang for seating might be best. With that in mind, you’re ready to build a beautiful DIY kitchen island that’s perfect for your home.
Nice work on your new kitchen island! Keep the creativity going – check out some of our favorite DIY projects for the home: