3 Ways to Repair Vinyl Siding Like a Pro

How to Repair Vinyl Siding
Tired of walking past that ugly crack in your vinyl siding trying to convince yourself that no one else has noticed it? You may think the cost of repairing vinyl siding is far too high for just a tiny hole, but it doesn’t have to be that expensive. You can save upwards of $2,000 just by tackling this project yourself. Learning how to repair your vinyl siding can be beneficial for any DIYer, and with the right tools and a little finesse, you can fix any hole, crack, or loose siding on your home in no time.
Signs That It’s Time to Repair or Replace Your Siding
Holes and cracks are obvious signs of wear and tear, but even if your vinyl siding looks solid to the naked eye, some symptoms of damage may be harder to notice. Remember, your siding does more than just improve your home’s aesthetics; it also protects it from moisture and insect damage. This is why it’s important to make sure it’s in tiptop shape. If you haven’t even thought about your vinyl siding since you put it in, it may be time to take a second look at it.
Here are some signs that your vinyl siding may need to be repaired or replaced soon:
- Chips, holes or dents: The most obvious signs of damage, any sort of breach in your siding can be an invitation for bugs and mold underneath.
- Loose or cracked siding: Gaps and cracks from loosened siding can allow rainwater to seep in between the panels and your home’s interior.
- Dry rot underneath: Even if the panels look fine, if the wood underneath has begun rotting, that means your siding isn’t doing its job and may need to be fixed or replaced.
- Repainting your home frequently: If your siding isn’t maintaining its color, that can mean its waterproofing is wearing off, which could spell trouble for your house.
- Warped or bubbling panels: This can be a result of heat or extreme weather damage. Warping and bubbling can cause gaps that further expose your home to the elements.
- Mildew, fungus or mold: Finally, if you notice any moisture-related growth on or underneath your panels, you need to find where the water is getting inside and fix it.
What You’ll Need
- Hammer
- Caulking Gun
- Utility Knife
- Tape Measure
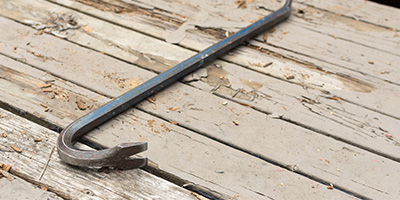
- Flat Pry Bar
- Tin Snips
- Zip Tool
- Replacement Siding Panel (for patching and replacing methods)
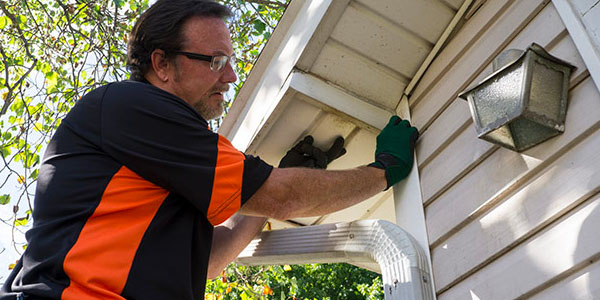
How to Repair Vinyl Siding
Although vinyl siding is made to be tough and durable, it can sustain damage just like any other building material. Luckily, there’s more than one way to repair your damaged vinyl siding. With the following step-by-step guides, learn how to fill, patch or replace any damage to your vinyl siding like a pro.
Repairing a Hole in Your Vinyl Siding With Caulk
From harsh weather to holiday decorating mishaps, holes in your home’s siding can happen for a number of reasons. If they’re small enough, filling the holes with a matching caulk can be a quick and inexpensive fix. If you can’t find caulk that matches your vinyl siding, you can use white caulk and purchase matching paint to conceal the hole.
1. Clean the Area
First, clean the surrounding damaged area with a sponge, soap and water. Give the area at least two hours to dry in the sun before moving on to the next step.
2. Prepare the Caulk Gun
Cut the tip of the caulk tube off and puncture the seal using a long nail or piece of metal. Pull the caulk gun’s plunger all the way back and load up the tube.
3. Begin Filling the Hole
Insert the caulk tube’s nozzle over the hole in the siding and begin filling the hole with caulk. It’s best to slightly overfill the hole to ensure it is completely filled and prevents water from entering.
4. Let the Caulk Dry
Let the caulk dry for a full 24 hours, then scrape away any excess caulk with a scraper. If you couldn’t find a caulk that matches the color of your siding, you may want to paint the newly-filled hole once the caulk dries.
Looking to increase the value of your home?
Check out these 13 home upgrades with the best return on investment!
Repairing Your Vinyl Siding With a Patch
If you have a hole or crack too big to fill with caulk, consider patching the area with the same-colored siding. Patching a hole might require more work, but the repair will be well worth it once the eye sore is gone.
1. Clean the Area
Before getting started, clean the surrounding damaged area with soap and water. Allow the area at least 2 hours to dry in the sun.
2. Cut Out a Patch
Using a scrap piece of siding, cut a section slightly bigger than the hole or crack. Cut the uppermost perforated edge of the scrap piece – the nail hole strip – being careful to leave the curved lip. Similarly, cut the bottom edge of the scrap vinyl.
3. Test the Patch
Place the patch over the hole or crack to ensure the curves on the patch fit the same curves on the siding. If necessary, trim down the curved edges on the patch until it properly fits.
4. Patch the Damage
Apply a small bead of caulk on the back of the patch and a bead of caulk surrounding the hole. Place the patch over the damaged area and apply pressure to secure its position and ensure the pieces stick together.
5. Let the Caulk Dry
Once the caulk is dry, clean the surrounding area and wipe away any excess caulk.
Pro Tip
Have you noticed any small gaps between your vinyl siding panels? Sealing those gaps with caulk will protect your home from exposure to water and insects.
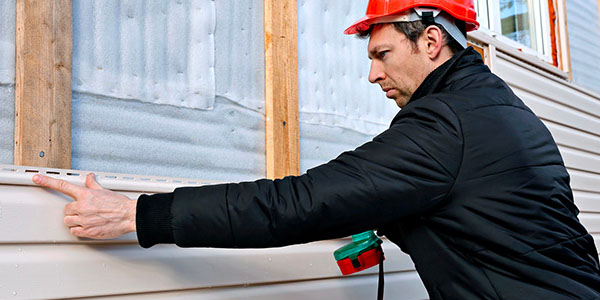
Replacing a Vinyl Siding Panel
If the damage on your siding is beyond a quick fix, you might consider replacing the entire panel. But don’t get discouraged – this 15-minute DIY-friendly project will teach you all you need to know to help keep money in your pockets.
1. Separate the Panels
Holding the zip tool with the bend facing upward, place the hook under the panel that is above the one you want to remove. While keeping the handle lifted, slide the zip tool horizontally along the panel to separate the two connected panels.
2. Remove Any Fasteners
Next, remove the nails or screws that hold the panel to the sheathing. Expose the fasteners that hold the panel you are removing by lifting the bottom edge of the upper panel. Use a pry bar or claw hammer to remove any nails and a drill to remove screws.
3. Prepare Your Replacement Vinyl
Cut the replacement vinyl piece to the necessary length using a utility knife or saw. Lift the new panel into place by pushing on the bottom edge to make sure it hooks onto the lower piece. The top of the panel should fit underneath the siding above it.
4. Fasten the New Panel
Similar to when you removed the damaged panel, lift the bottom edge of the upper panel to expose the nailing track. Fasten the panel with nails or screws, but be sure to leave space for the vinyl to expand and contract as the seasons change. Use tape or an extra hand to help hold the panel in place as you fasten it.
5. Secure the Panels Together
Finally, use the zip tool to secure the bottom tab of the replacement panel to the adjacent piece. Slide the zip tool along the tab and push the panel against the new one as you go. This will ensure both panels lock together. Once that’s finished, step back and admire your hard work.
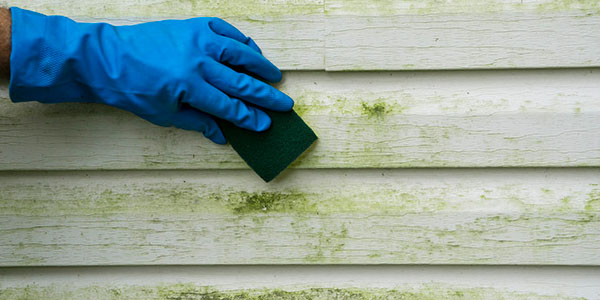
Taking Care of Your Vinyl Siding
Although vinyl siding doesn’t require much attention, you can still keep your siding in good shape with some regular maintenance. Cleaning your siding with a cloth or soft-bristle brush can eliminate any dirt or residue, leaving your siding looking new again. You can also power wash your siding, but be sure to carefully read the washer instructions and check with your siding manufacturer beforehand so you don’t damage it.
To prevent discoloration, cover the exposed vinyl siding when working with stains, sealants, and wet concrete during home renovation projects. Check your siding regularly to stay on top of any holes or cracks that expose your home to water and insects.
Boost Curb Appeal With More Outdoor Projects
Now that you’re an expert at repairing damaged vinyl siding, you may want to check on other parts of your home’s exterior and outdoor space. Check out these other outdoor home improvement projects that you can tackle in a weekend: