How to Remove Decking
Your Guide to Tearing Down a Wooden Deck
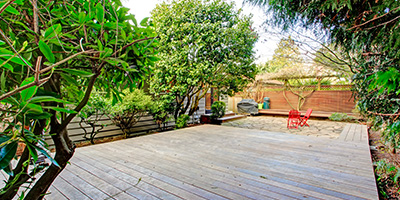
Decks are a great outdoor area for relaxation and social gatherings, but over time they begin to rot and warp. If you find yourself eyeing splintered and bowing boards, it’s time for deck removal.
3 Signs It's Time to Tear Down Your Deck
According to Brandon Barski of Barski Hardscaping, the top signs that your deck needs to be removed or replaced are:
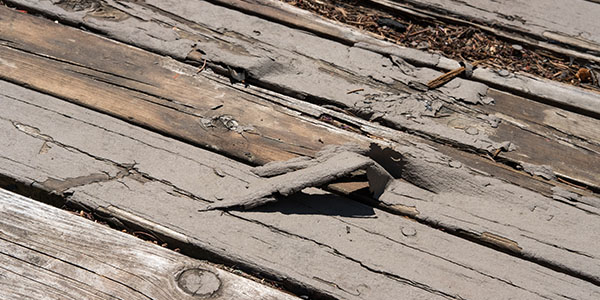
1. Popping Fasteners
A fastener is a hardware component designed to securely attach and connect deck boards. They are concealed beneath the surface for a sleek look. Due to natural causes, your deck boards will dry out over time from sunlight and start to splinter, so your nails and screws will pop up and bolts can become loose.
2. Soft Spots
If you notice dark brown or green soft spots on your deck boards, this can be a sign of rot. These surfaces will feel less firm than the surrounding wood.
3. Bouncy Boards
Try the trampoline test — stand in the middle of your deck and jump. Does it feel bouncy? The bounce may be a side effect of cracked or rotted boards and you’ll need to inspect the frame underneath.
Need a simple and efficient way to handle cleanups? Learn more about our roll off dumpsters!
What to Consider Before Deck Removal
What’s the Cost to Demo a Deck?
Depending on the size, most homeowners pay between $5 and $15 per square foot for professional deck removal costs, according to HomeAdvisor.com. If your deck has heavier components like metal railings or is multi-story, the cost may be toward the higher end of that range. Undertaking a DIY deck demolition will help you save on labor costs.
Do I Need a Permit for Deck Demolition?
Removing your deck should not require a permit, but it’s never a bad idea to double-check with your local building code office. If you plan on rebuilding a new deck in the future, obtaining a permit from your local office allows both your building plans and list of materials to be reviewed against the specific conditions of the location the deck will be built, ensuring it will perform as needed for a long time.
“It’s important to know what is going to replace your torn down deck. You’ll want to have the approved plans in hand and ready to go for the new space as most municipalities will not let a safety issue go for to long until you risk a violation.”
Brandon Barski | Barski Hardscaping
Getting Ready to Demolish Your Wood Deck
Preparing for deck removal involves a few essential steps. First, clear the deck of your grill, furniture and other patio items. Use this opportunity to declutter by donating unwanted items to your local Goodwill. For any broken items, dispose of them responsibly. Consider getting a dumpster rental for these items and your deck debris.
Before starting your deck demolition, make sure to have a plan in place for replacing your deck. Removing it will leave a massive void between your doorway and the ground below.
“Before starting to take down your deck, make sure to protect the space below your deck, especially if you have a walk-out basement. Cover the doors and windows. You will also want to consider protecting the landscaping around the deck area.”
Matthew Breyer | North American Deck and Railing Association
Deck Demolition Tools and Safety Equipment
Make sure you have the tools and safety gear needed to remove deck boards. The deck demo tools you need should be available at your local hardware or home improvement store if you don’t have them already.
- Pry Bar
- Screwdriver
- Hammer
- Drill
- Sledgehammer
- Reciprocating Saw
- Shovel
- Work Gloves
- Protective Glasses
- Closed-Toe Shoes
How to Tear Down a Wooden Deck in 7 Steps
Decks are most commonly built from bottom to top and you should follow the same strategy for removing one. Reversing the order of your deck’s initial assembly is typically the easiest way to deconstruct it. Nailed together deck boards are easier to rip apart than screwed-on boards, but having the right tools on hand will take care of both.
Safety Tip
Lock the doors leading out to your deck so no one accidentally walks out as it’s being removed.
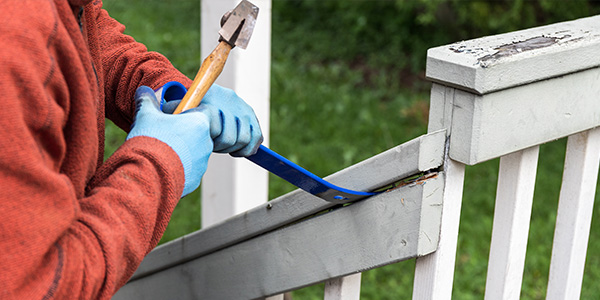
1. Take Down the Handrails
Once your deck is clear, you can begin removing the rails. Work from one end of your deck to the other starting with the top railings, the balusters and the bottom rails. Use a crowbar if they are nailed together, or reverse the screws with a drill if they’re screwed together. Keep an empty jar handy to drop loose screws and nails in as you work.
“Check your local code officials to see if fall protection is needed to remove a deck in your city. Depending on the size of your deck, scaffolding is often a better work platform than having a ladder leaning against a deck that is being torn down.”
Matthew Breyer | NADRA
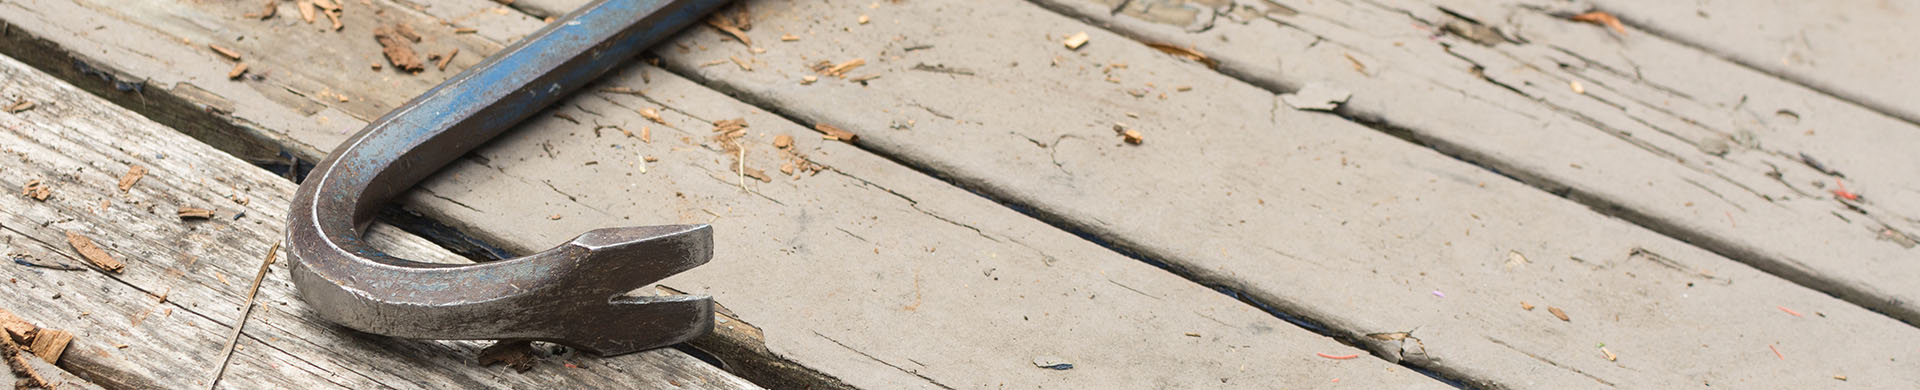
2. Remove the Deck Boards
Grab your trusty pry bar or claw hammer and slide it under the deck board. Give it a little wiggle, and the board will pop up.
Pro Tip
The best way to remove deck boards is to start on one side, pull the deck boards up and go one-by-one to the other side of the deck.
How to Remove Deck Boards That Are Screwed In
If your deck has screws, unscrew them before using a pry bar. They are typically along the edges and in the center of each board. Then, pry the boards up gently. Make sure you continue to collect your nails and screws.
Some screws may resist removal due to rust. If a screw won't budge, you may need to use more muscle or resort to cutting the deck board around the stubborn screw.
3. Cut the Deck Frame Away from Your House
Using a reciprocating saw, cut the frame apart from the board that's attached to your home. Do this carefully and not too fast, so the weight of the deck pulls it away from the house. Once you've removed all the deck boards, the big board connected to your home will be left. Stack like-sized deck boards together to keep things organized.
4. Cut Joists Off
Using your sledgehammer, strike the ends of the floor joists where they are fastened to the hangers. If that doesn’t work, you can use your reciprocating saw at both ends.
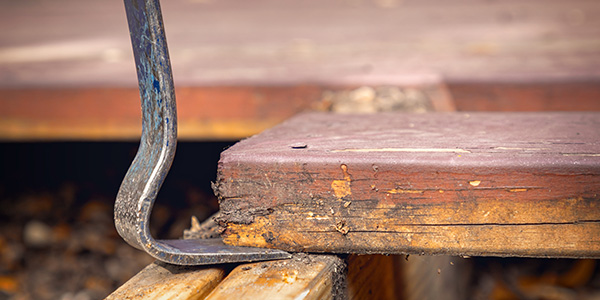
5. Remove Ledger Boards
The ledger board is typically mounted horizontally against the exterior wall of the house. To remove it, gently pry away from the house. Work gradually along the length of the ledger to avoid putting excessive stress on a single area.
6. Dig Out Support Posts
Dig around the concrete footings with a shovel and pull back and forth on the deck support posts until they can be pulled from the ground. You may need to use a wheelbarrow or grab a friend to help haul them away.
7. Pull the Steps Apart
If the steps are still intact, pry the treads up with your pry bar and remove the risers and support posts.
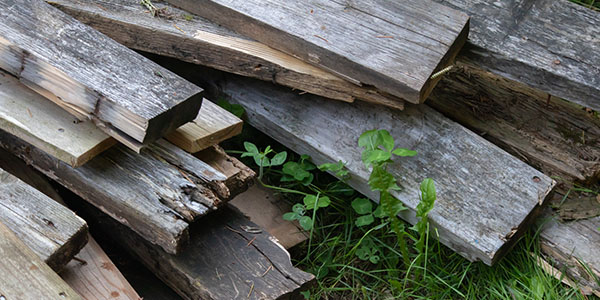
What to Do with Old Deck Boards
Once your deck is completely torn down, you’ll be left with a lot of lumber. You can use some for new projects and throw away the parts that are too worn out.
Use Them for Interior Trim Projects
Cut the trim so the weathered side is exposed for the rustic look. Build a mantel with a single piece of deck board and trim it out using the same material. If you want more smooth, decorative edges, you can sand it to duplicate any type of trim molding you would find at the store.
Create DIY Picture or Art Frames
If some of your deck boards are 3/4 to 1 inch thick, they are the perfect size for a photo frame. Leave them worn or sand them depending on what style you’re going for.
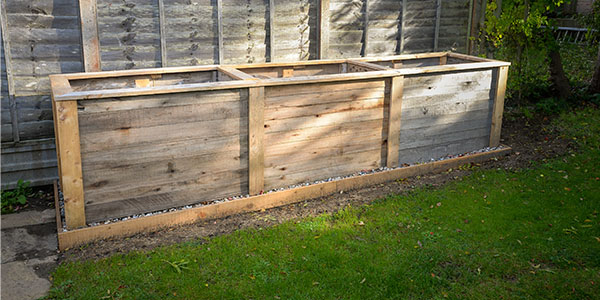
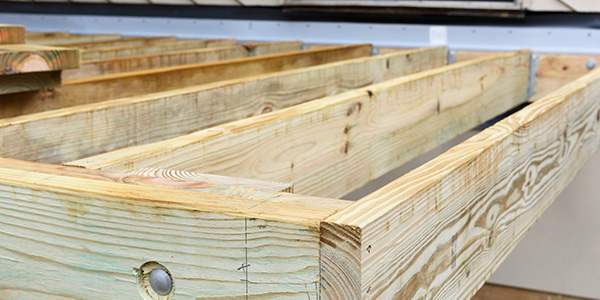
Build Raised Plant Beds
Looking for an easy DIY garden project? Screw together deck boards to build raised planter beds you can fill with dirt. Such boxes are usually 18 to 48 inches deep.
Reuse Them in Your New Deck
If you are planning to build a new deck to replace your old one, you can use any of the old deck boards that are still in good condition to make a handrail for your new deck.
Rent a Dumpster to Get Rid of Them
If you aren’t feeling creative, your wood isn’t in good condition or there’s just too much of it to use up, you can rent a dumpster to dispose of debris from your deck demolition project.
Check Out Dumpsters Near You
“Proper disposal is important with deck debris or other building materials. Pressure treated lumber has many harmful chemicals you should not be around for too long or burn. Rusty nails or bolts that have been holding it together over the years can also be dangerous to handle and can be harmful to the environment. The safest and most efficient way to dispose of your deck materials is to rent a dumpster so you don’t have to handle the debris more than you need to.”
Brandon Barski | Barski Hardscaping
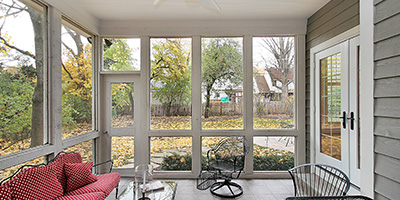
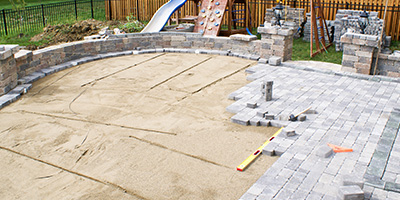
More Ways to Upgrade Your Exterior
Now that you’ve successfully removed your old deck, are you looking for something to replace it? Here are a few options to consider: