How to Build a DIY Rain Barrel
How to Make a Rain Barrel
Rain barrels are becoming a common sight in backyards all across the country. Why? For one thing, they help drought-prone areas cope with water shortages. But for most folks, it’s simply an eco-friendly (and free) way to water their gardens.
As Kevin Espiritu of Epic Gardening explains, “It’s a fantastic way to conserve water use from city lines and practice a bit of permaculture practices at home on a small scale.”
Intrigued? Follow the instructions below to build your own DIY rain barrel.
First, you’ll need to gather these items:
Tools:
- Scissors
- Staple gun
- Pliers
- Screwdriver
- Utility knife
- Dremel tool
- Shovel
- Level
Supplies:
- A 32-gallon trash can
- A roll of window screen
- A 90-foot garden hose
- One water nozzle
- Three conduit locknuts
- Two 2.5-inch boiler drains
- Two cinder blocks
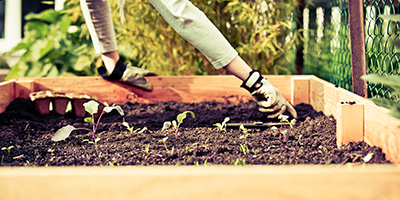
Step 1: Find the Right Spot for Your Rain Barrel
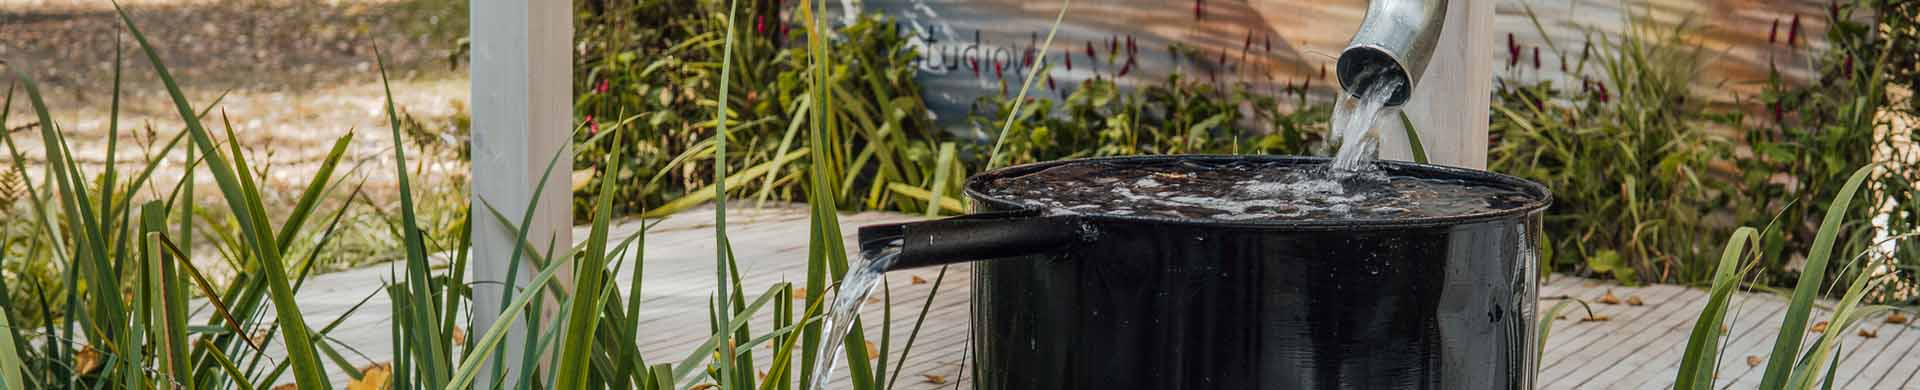
The fastest way to fill up your rain barrel is by placing it under a downspout. Tyler Dell, program manager and research associate at the Colorado Stormwater Center, recommends choosing a downspout location with an adequate amount of roof drainage, greater than 350 square feet of roof. That way every time it rains, you’ll be able to maximize your yield.
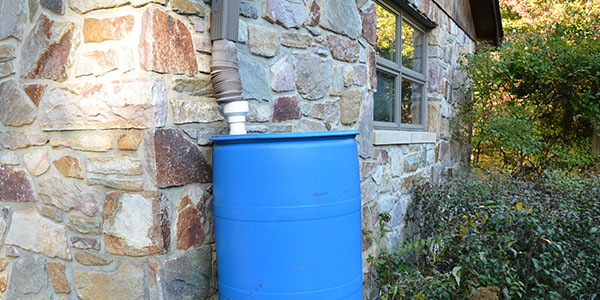
Once you’ve determined the best downspout location, you can either cut it to your desired height or install a diverter to funnel part of the stream to your barrel. You can find rain barrel diverters at most home improvement stores, as well as local water conservation organizations, such as Colorado Rain Catchers.
If you opt to cut your downspout instead, a utility knife should be enough. But if the material is too thick, a Dremel tool is recommended. Then, reattach the curved end so it rests just above the top of the trash can.
“[I] recommend the use of a stand as it will make for better access of the rain barrel and will also increase the pressure slightly for watering purposes. This is important to keep in mind before cutting the downspout as it will adjust where to cut.”
Tyler Dell, Program Manager, Colorado Stormwater Center
You should also flatten the ground where the rain barrel will sit. Dig up the dirt with a shovel and use a level to ensure the surface is even. If you don’t want to take the time to build or buy a rain barrel stand, you can instead place two cinder blocks on top of your chosen spot. This will give the barrel enough elevation to fill a watering can or attach a hose, though the water pressure may not be as high.
Need to remove dirt from your lawn? Use our guide to get rid of soil efficiently!
Step 2: Attach the Faucets
Use your utility knife to cut a hole on the side of the trash can, several inches from the bottom. The hole should be large enough for the end of the faucet to fit snugly.
Next, thread a metal washer onto the faucet, followed by a rubber one. Insert the faucet through the hole you made and thread on another rubber washer inside the trash can. Then, use your pliers to screw a locknut onto the faucet, securing it in place. The washers will seal the water inside the rain barrel.
Follow the same steps to install a second faucet several inches from the top of the trash can. This will function as an overflow valve in case of heavy storms or practical jokes from the neighbors.
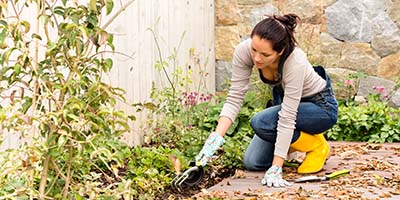
Rain barrels are great for an eco-friendly garden. Read on for 5 more ways to go green!
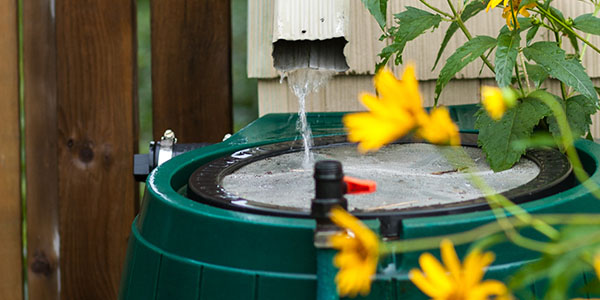
Step 3: Install the Screen Over the Top of the Barrel
Make sure the trash can is clean before this next step. You don’t want any dirt or plastic bits floating around in the water. Once cleaned, roll the window screen over the top of the barrel. Use your staple gun to attach the screen around the lip of the barrel. Cut off any remaining material with scissors.
“There are jurisdictional obstacles in some states/cities, but for the most part you’re good to go. The hard part is retrofitting some housing designs that aren’t as easy to set up a gutter and funneling system on.”
Kevin Espiritu, Epic Gardening
Step 4: Cut a Hole in the Lid
Now, you’ve essentially made a rain barrel. But to avoid leaves piling up on it, you should take the extra step and cut a hole in the lid. Use your utility knife to cut out a hole large enough that your downspout can drain into it. If your lid is indented, you should have no problem cutting a rectangular hole out of the inside edges.
“Make sure you fully drain the system, including the pipes that connect the barrels. Also I recommend you remove the downspout that flows into the ‘fill’ barrel to make sure no water enters the system during months when [you’re] not using the system and freezing is a possibility.”
Michael Hillman, The Master Gardeners
Step 5: Install Your Rain Barrel
Place the barrel underneath your downspout, on top of the cinder blocks. Make sure the downspout is lined up over the hole in the lid. Next, attach your garden hose to the bottom faucet. The next time it rains, you’ll be all set to water your garden using good old rainwater!
Need More Ways to Take Care of Your Garden?
Check out the following gardening projects, now that you’ve learned how to build a rain barrel.