A Step-By-Step Guide to Hanging a Gallery Wall
How to Hang a Gallery Wall
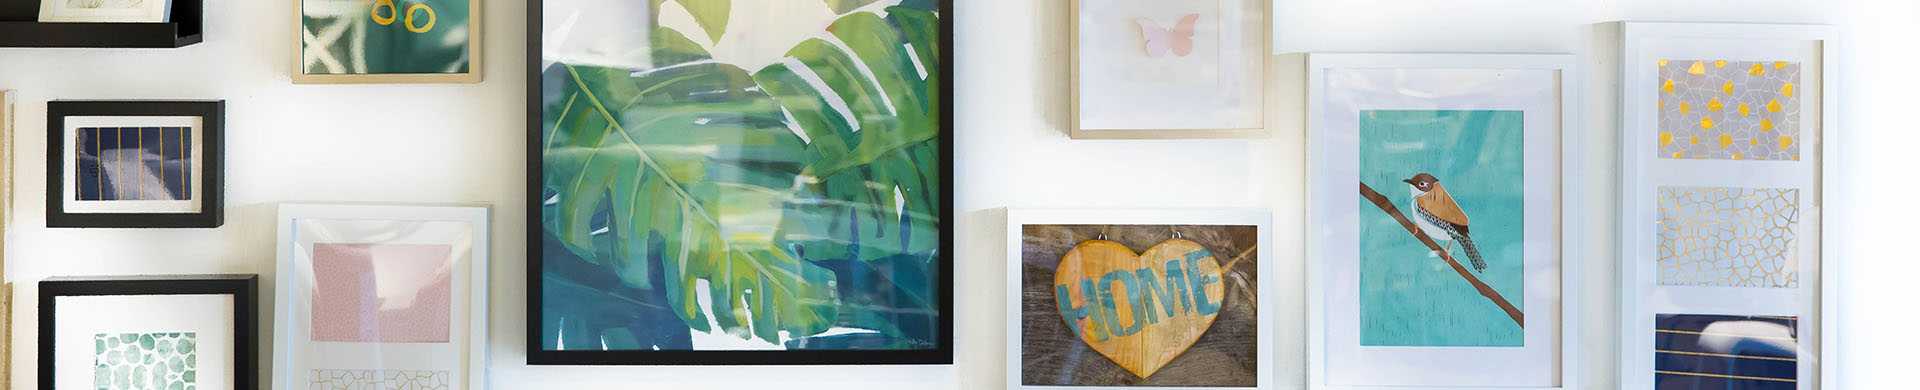
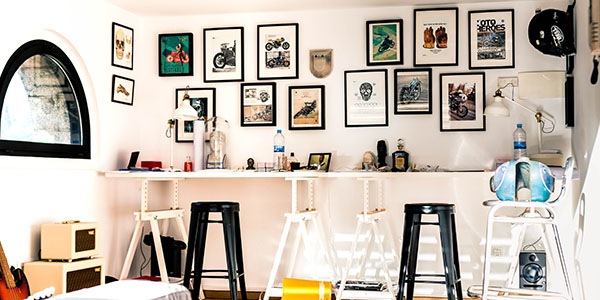
Hanging a gallery wall is a great way to add an artistic centerpiece to a blank wall. This project is a simple way to combine framed photos, artwork, heirlooms and other décor into a cohesive collection that adds color and personality to any room.
Keep reading for tips on gathering art and instructions for installing your gallery wall.
What Is a Gallery Wall?
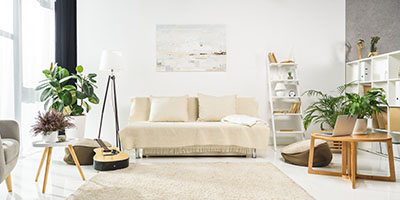
A gallery wall is any creatively arranged collection of art, photos and objects that uses framing, spacing and layout to create an interesting display. Gallery walls are not only trendy but are a great use of space, especially in small homes or apartments.
Planning Your Gallery Wall
Choose Your Wall
Decide where you want to decorate. Hanging a gallery wall is a good option for a wall that is very large and bare, oddly shaped or doesn’t fit any regular-sized art, such as a corner or a pillar.
Measure your wall to get an idea of how many pieces you will need to fill it and write the dimensions down for later.
Select the Style and Décor for Your Gallery Wall
Next, you will need to gather art for your wall. When looking for art and photo gallery wall ideas, it can be helpful to choose a style or a theme for your collection. An overarching element throughout the gallery wall can make the display more cohesive and help the eye travel through the art. The theme for a gallery wall can be colorful or black and white; symmetrical or organic; unified or eclectic. It’s totally up to you.
If you have a few photos, frames or pieces of art you know you want to include, use these to inspire other ideas for your gallery wall. Choose additional pieces that complement them and select frames that make sense together.
Your gallery wall can include almost anything. Here are a few gallery wall ideas to get you started:
- Framed photos
- Framed & unframed art
- Mirrors
- Album covers
- Small sculptures
- Shelves
Choosing at least one large piece can help anchor the gallery. Matting your photos and art can give the wall a more professional and polished look as well.
Arrange Your Art
Once you’ve chosen and framed all the art, photos and memorabilia you will include, measure a space on the floor that is the same height and width as the wall space you plan to use. Mark it with painter’s tape.
Place your gallery wall features inside your marked floor space and begin arranging the art in the order you’d like to hang the pieces. Place your largest pieces first and then fill in the space between them with smaller items. A tip for hanging a gallery wall is to place your largest piece closer to the middle than the top. This will help balance your display.
Continue to rearrange items until you find a composition that you like and fits the space you have available on the wall. Then, you’ll move on to installing the pieces.
Ready to turn your feng shui up to 11?
Follow our complete guide for decorating your home!
How to Hang Your Gallery Wall
Tools for Installing Your Gallery Wall
To hang your art, you will need:
- Level
- Measuring tape
- Hammer
- Nails (sizes should vary depending on the weight of décor)
- Recycled paper
- Pencil
- Painter's tape
- Stud finder (for heavy items)
You can switch out the hammer and nails for sticky hanging strips if you prefer but pay attention to the weight limit if you are hanging heavy items.
Mock Up Your Wall
Before you start hammering, take the time to mock up your wall so you can hammer the nails in the right spots:
- Using your paper and pencil, trace each art piece on paper and cut out the shape. We suggest recycled paper bags or newspaper to keep your project green.
- Using the measuring tape, measure the distance of the hanging hardware from the top and sides of the frame. If there is a wire on the back, pull the wire toward the top of the frame until it is taut, and then measure the distance from the top. Use the measurements to mark this location on your paper with an X. This is where you will hammer in the nail later. Label the outline so you know which piece it matches.
- Using painter’s tape, hang your cutouts on the wall in the arrangement you laid out on the floor. Use the level to make sure the outlines are straight. Leave 2 to 3 inches of space between pieces. Unless you want a symmetrical gallery wall, spacing does not need to be exact.
Pro Tip
The center of the arrangement should be about 57 inches from the floor.
If you are hanging something heavy, such as a large frame, piece of art or mirror, it is best to hang it on a wall stud. Use a stud finder to locate yours. If there’s no stud in the desired location, use more than one nail and make sure they are the correct ones for the weight of the item.
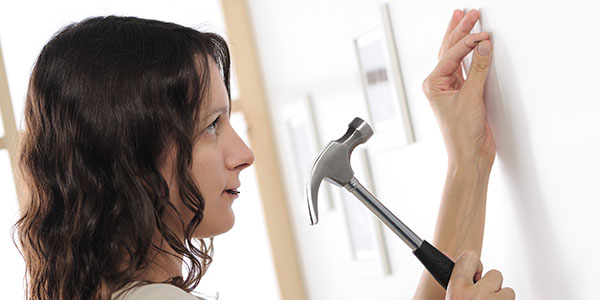
Hang Your Art
- Using the paper outlines of your pieces, hammer a nail into the spot marked for the hanging hardware. If a piece needs more than one nail, use the level to ensure they are straight.
- Tear away the paper templates.
- Hang your gallery wall pieces.
- Use your level to make sure the pieces are hanging straight.
- Step back and appreciate your gallery wall.
Pro Tip
To further secure your pieces, use a sticking agent at the bottom of each piece to prevent movement.
Now that you’ve hung your gallery wall, you can enjoy your diverse collection of art and photos. How did it turn out? Share any additional tips for installing a gallery wall on our social media channels.
More Ways to Customize Your Space
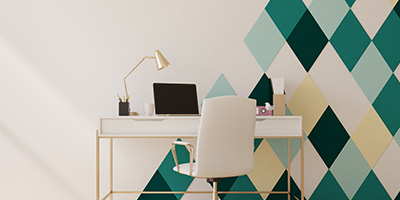
Hanging pictures and art is just one way to make a house a home. Just imagine how great your perfectly hung college degree and portraits will look during video chats in a new home office. Check out these guides for more tips on making your space your own.