How to Remove a Bathtub and Install a Shower
How to Convert a Tub to a Walk-In Shower
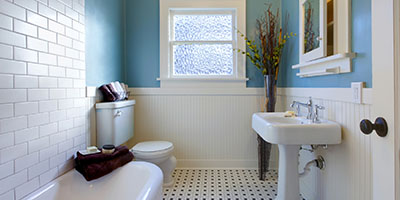
Converting your dated, unused tub to a shower is a stylish and practical update for any home. A walk-in shower can make your bathroom feel larger and more modern. It also improves accessibility for those with mobility issues.
Not sure how to begin your DIY tub to shower conversion? Our step-by-step guide will simplify the process.
Can I Replace My Tub With a Shower?
While a walk-in shower sounds great in theory, it’s not the best fit for every household. You should consider your family’s needs, bathroom layout and budget before tackling this project.
Your Family
If you have young kids or a bundle of joy on the way, consider keeping your tub to make bath time easier. Have a furry friend that likes digging in the dirt? Drawing a bath is the simplest way to give your pet a quick rinse.
Your Bathroom Layout
You won’t live in your house forever. According to the National Association of Home Builders, having at least one bathtub in the home is important to most prospective buyers. If you don’t have a tub in any other bathroom, consider keeping the one in question.
Your Budget
Make sure to budget for all costs associated with a DIY tub to shower conversion. This is especially important when it comes to shower kits and the tools you need for installation. You should also consider renting a dumpster and plan for any other potential cleanup costs.
How Much Does It Cost to Replace My Bathtub With a Shower Stall?
The cost of a tub to shower remodel typically ranges from $800 to $15,000. Pricing depends on how big the shower will be and the materials you’re using. If you’re buying a shower kit, expect to pay within the $1,000 to $8,000 range. Planning to tile your walk-in shower from top to bottom? Your total cost will be between $3,500 and $15,000. No matter which design you choose, you’ll save around $1,000 going the DIY route.
How to Convert Your Tub to a Walk-In Shower in 7 Steps
Now that you have a plan and budget in place, you can start your tub to shower remodel. You should give yourself about two or three days to complete this project.
1. Gather Your Tools
Before removing your bathtub, make sure you have the right materials to finish the job. You should have the following tools before getting to work:
- Plywood for floor protection
- Tape measure
- Flat head and Phillips screwdrivers
- Wrench and/or Allen wrench
- Putty knife and utility knife
- Drywall saw and reciprocating saw
- Prybar
- Jigsaw
- Level
- Caulk and caulking gun
- 10 yard dumpster
- PPE, including gloves and eye protection
2. Determine Spacing and Placement
You should install your walk-in shower where your bathtub used to be. The drain lines and water supply will already be in place, which makes installation easier. Moving plumbing will add significant costs to this part of your DIY bathroom remodel, and you’ll need to hire a plumber to do the work correctly. Use a tape measure to ensure you have the proper spacing.
Spacing Required for a Walk-In Shower
- At least 30 inches by 30 inches of floor space
- At least 80 inches in height
- At least 15 inches between the side of the toilet and the shower stall
- Or at least 21 inches between the front of the toilet and shower stall
- Door-width space in the radius around the shower, if you plan to install a swinging door
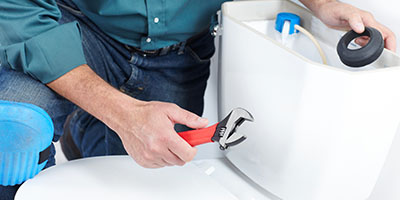
“Plumbing work should always be done by a professional. A lot of homeowners can handle the removal of a tub after shutting the water off, but if you’re replacing the tub with a shower, it may impact your plumbing system and require a change in pipe size. The worst-case scenario in this process is if you get a leak and destroy the floor below.”
Mike Foti, Innovate Building Solutions
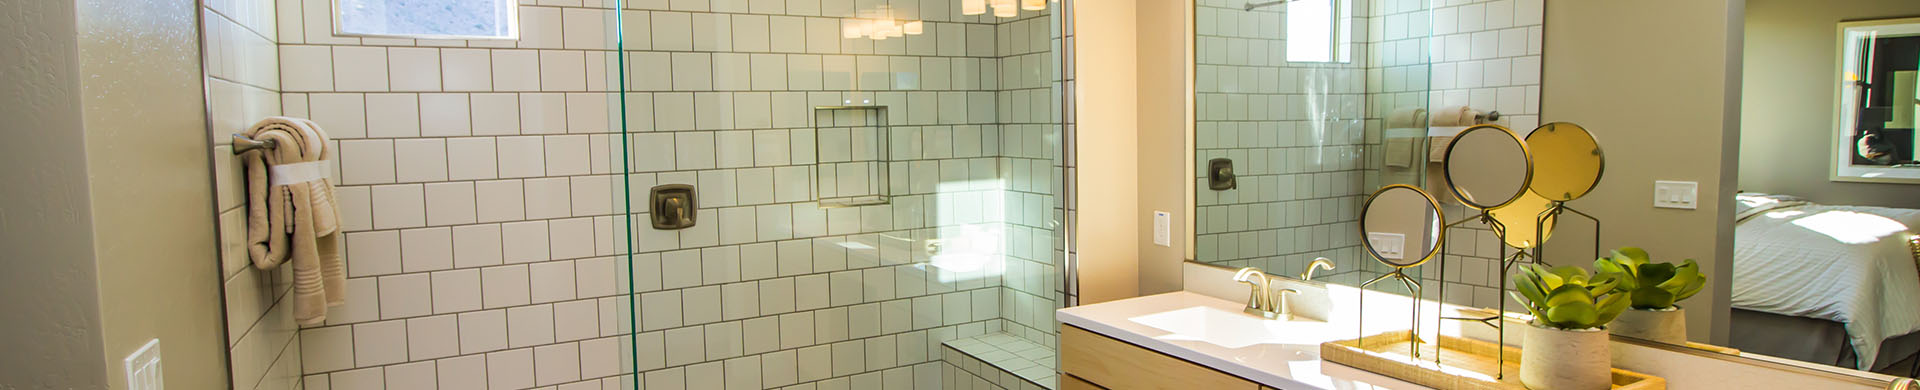
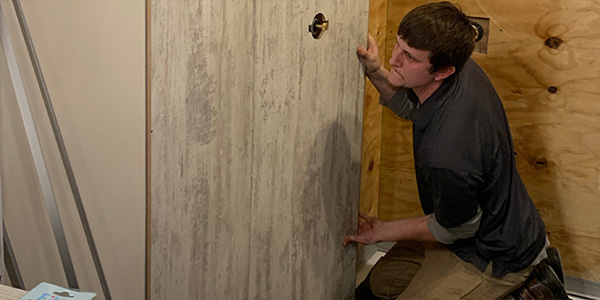
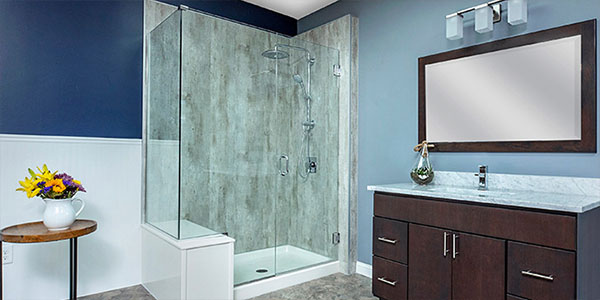
3. Pick Your Walk-In Shower Design
When you’re taking on a DIY tub to shower conversion, shower kits may sound appealing. They’re fairly easy for a DIYer to install, and come in several different styles. You may choose a tile pattern. You can also decide between square corner, round corner and alcove shower designs.
“When deciding on a shower that fits your style and budget, first determine how much maintenance you want to deal with. Tile systems are more expensive and labor-consuming, but there are a lot of options that offer a fancier look. For a home-flipping project, you might use an acrylic or fiberglass shower surround kit, which is more generic in style but cheap. In the middle of the budget band is a shower wall panel (laminate or solid surface stone), which is stylish, durable and cost-effective.”
Mike Foti, Innovate Building Solutions
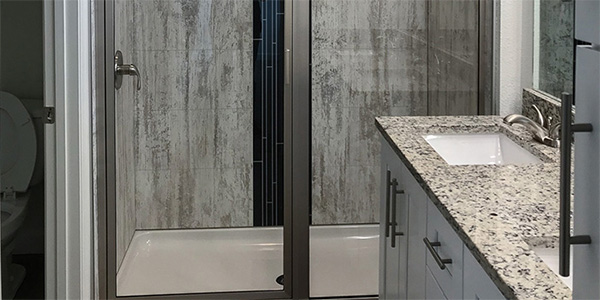
Comparing Shower Stall Kits
When selecting a shower stall kit, you’ll have to choose between a curbed or curbless design.
Description | Pros | Cons | Average Cost | |
|---|---|---|---|---|
Curbed Showers | Shower pan forms a complete enclosure using low curbs you must step over to enter the shower. | Most common type of walk-in shower and the easiest to install. | Could pose the same problems as your old bathtub for those with mobility issues. | $600 – $1,000 |
Curbless Showers | Shower pan sits flush with the floor, with no enclosures. | Easily accessible for anyone with mobility issues. Increasingly popular due to their visual appeal. | Pricier and requires more work to install than curbed options. | $1,800 – $4,000 |
“You should think about how you’ll prevent water from getting out of your new shower, and what that’s going to look like. For example, are you going to have room for a pivoting door opening out into the space, or does it need to be a sliding door? Will the person using this shower be able to step over a 4-inch curbed pan long-term? When looking at a shower or tub, think not just about today, but about how your living arrangement might change, and be thoughtful of that in your design.”
Mike Foti, Innovate Building Solutions
4. Remove Tiles and Wall Sections
Before you convert your tub to a shower, remove some of the tile and drywall around it. This makes it easier to detach your bathtub from the wall. Follow these steps to prepare the area for bathtub removal.
How to Prepare the Area
- Cover the floor with plywood to prevent tile damage.
- Turn off water to the bathroom at your home’s main water shut-off valve.
- Unscrew the drain cover, overflow drain cover and faucet knobs. Pull the faucet from the tub, using an Allen wrench to loosen any screws.
- Disconnect the main and overflow drains from the access panel behind your tub, or from your basement. Use your wrench to turn the locking nuts counterclockwise.
- Remove the tile around the tub to a height of about 8 inches by scoring the grout with a utility knife, then prying the tiles off with a putty knife.
- Cut through the drywall with a drywall saw, being careful not to cut into any studs. If your wall is plaster, use a reciprocating saw for this step.
Pro Tip: “If you’re tiling your shower, make sure you’re using the right grout. You can’t use unsanded grout in the shower – if the grout joint breaks down, water will move through it. The backer system should also be water resistant. Paying a little extra to make sure you’re properly waterproofed during the remodeling process can save you a ton of time and money in the long run.”
Mike Foti, Innovate Building Solutions
5. Take Out Your Bathtub
It’s finally time to remove your bathtub. Use these five easy steps to get rid of that old tub and prep your walk-in shower.
How to Remove Your Bathtub
- Remove any nails or screws attaching the tub to wall studs.
- Use a utility knife to cut through any caulk between the tub and floor.
- Use a prybar to pry the tub a few inches away from the wall.
- Working with a helper, use your prybar to pry one end of the tub and maneuver it upright. Ensure it will fit through your doors this way first.
- Toss the old tub into your rented dumpster, then repair the drywall you cut away.
Removing your bathtub will expose the concrete backing board and subfloor underneath, so it’s a good time to fix any damage. Subfloor damage is usually caused by overexposure to moisture. If you need to replace your subfloor, you’ll save yourself a lot of time and stress down the road by taking care of the issue now.
6. Install Your Walk-In Shower
Now all you have to do is replace your tub with a shower. If you’re using a shower stall kit, follow the instructions carefully. Remember that converting to a curbless walk-in shower requires you to lower the shower floor. This lets the pan sit flush with the rest of the bathroom floor.
You’ll need to hire a concrete contractor if your bathroom has a slab subfloor. Fortunately, this is typically a quick job that shouldn’t break your budget.
If your subfloor isn’t slab, get a permit from your city’s building department to cut down the tops of the floor joists beneath the shower pan until it sits level. Use your level to ensure the shower pan is properly aligned. If it isn’t level, your shower could leak.
Pro Tip: “To ensure everything fits together and is properly waterproofed, always put your tub/shower base in first before you install any tile or wall panels.”
Mike Foti, Innovate Building Solutions
7. Clean Up After Your Tub to Shower Remodel
Once you’ve converted your tub to a walk-in shower, you should feel accomplished, not stressed about the cleanup. We recommend renting a dumpster so you can get rid of your old tub, broken tile and drywall as you work. Remember most cities only have one bulk waste day per month, so having a renovation dumpster nearby is the fastest and easiest way to clean up.
Get Dumpster Rental Service Near You
What Should I Do After My DIY Tub to Shower Conversion?
We have tips for sprucing up every part of your bathroom, from your toilet to your vanity. Check out the following posts to create the bathroom of your dreams, one project at a time.