Our Top Driveway Border Ideas That Won’t Break the Bank
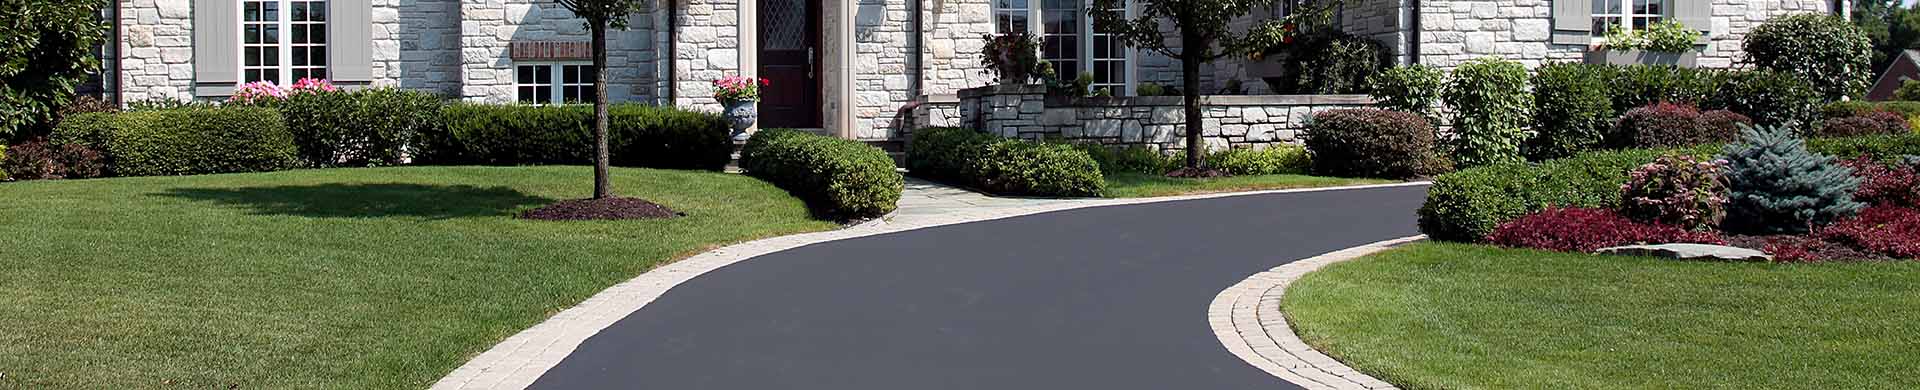
5 Driveway Edging Ideas That Won't Break the Bank
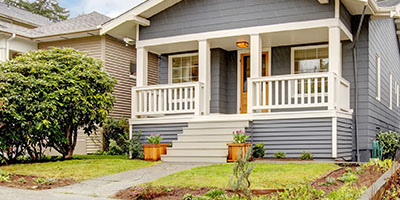
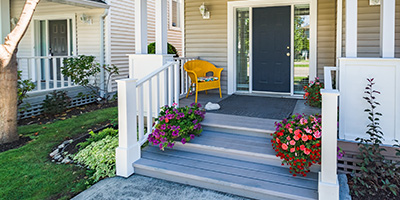
Curb appeal makes a notable first impression on both potential homebuyers and familiar neighbors. While painting and landscaping are great ways to elevate your home’s exterior, here’s another option to consider — driveway edging.
Driveway borders create an aesthetic margin between your driveway and lawn. They come in a variety of styles and materials, so it’s easy to find the perfect driveway border design to match your home and budget.
Why Should I Edge My Driveway?
Driveway borders do more than boost curb appeal. They’re a practical way to prevent rain from washing away your yard and cars from creating ruts.
“Driveway borders play two significant roles. First, they direct water runoff from eroding the sides of the driveway where the masonry meets the lawn. Over time, especially in areas that experience heavier rainfall, a gap will develop between edges of the driveway where the masonry and lawn meet. The second purpose is to protect the driveway from encroaching grass species.”
Roget Ghawi, Bayside Pavers
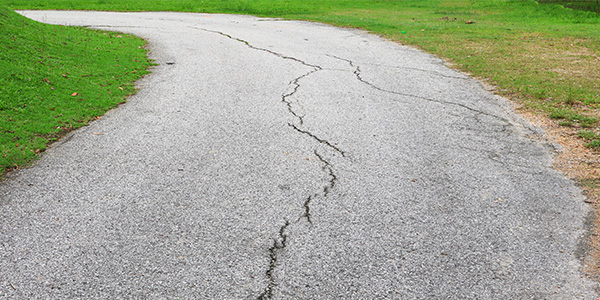
Edging an asphalt driveway is especially beneficial. Unlike concrete, asphalt is soft and can’t withstand harsh climates. That means it’s only a matter of time before the edges start to crumble. Edging a driveway will help it stay in place. Borders secure the sides and prevent further cracks or damage. Check out these DIY driveway edging ideas to spruce up your own home and avoid future driveway repair costs.
5 DIY Driveway Edging Ideas
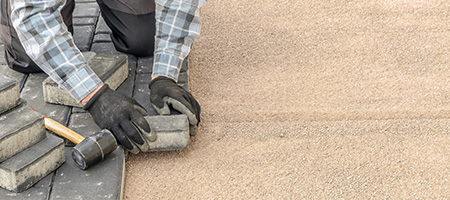
1. Concrete Pavers
Often used as a sturdy and slip-resistant outdoor flooring option, concrete pavers are manageable to install. Their assortment of designs and textures make them easy to customize to fit any home. Plus, concrete paver edges particularly complement asphalt. Implement this driveway border idea if you want to keep it practical.
Installation Difficulty: Moderate
Cost Per Square Foot: $3 to $6
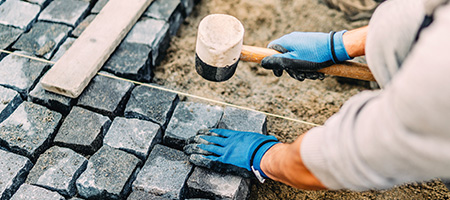
2. Driveway Edging Stones
Belgian blocks and cobblestone are a popular choice because they’re durable. If you live in a climate that bears harsh winters, Belgian blocks may be the best option. They come in a variety of sizes and colors so you can find the perfect contrast against your driveway. Edging stones are costly and require extra preparation to install compared to other materials, but you won’t need to worry about maintenance once they’re set in the ground.
Installation Difficulty: Moderate
Cost Per Square Foot: $10 to $20
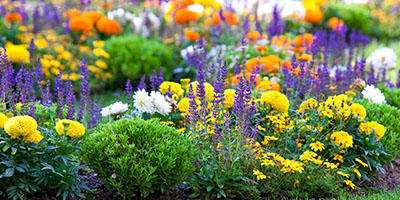
3. Border Landscaping
Use plants or flowers as driveway edging to add a natural aesthetic to your lawn. This makes it a popular option for developing curb appeal. Plus, if you have previous gardening experience, it will be easy for you to lay a flower bed along your driveway. However, garden edging typically needs more upkeep and excels in moderate climates where plants can bloom year-round. There are many great border plants to consider, such as ferns, monkey grass and hostas. Spurge plants and barberry shrubs are other inexpensive options. Just make sure the one you choose suits your landscaping and can withstand diseases, pests and drought.
Installation Difficulty: Easy
Cost Per Gallon: $15 to $40
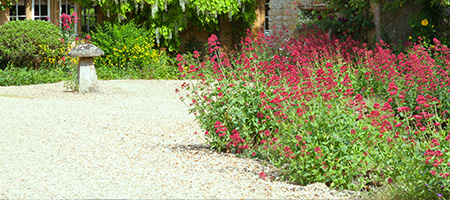
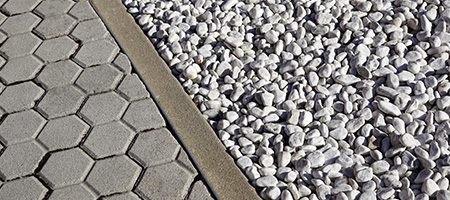
4. Gravel
If you live in a rainy area, gravel will keep rainwater from washing out your lawn. It’s one of the most cost-effective options and comes in a number of custom shapes and colors to match your home’s exterior. Crushed concrete, pea gravel and crushed shells tend to be the most affordable stones. It’s also easy to install — simply dig a shallow trench and fill it up with your stones. Just remember to refresh your gravel every few years.
Installation Difficulty: Easy
Cost Per Square Foot: $1 to $3
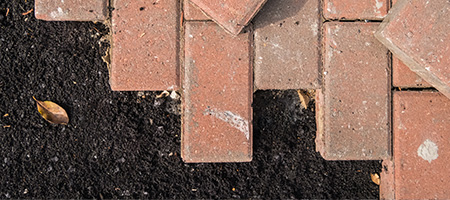
5. Brick
Though limited to browns and reds, clay brick is an attractive material to install on your property. This classic look comes at a higher cost but its durability makes it worth the investment.
Look for mass produced bricks or clearance stock if you want to keep the cost down. Laying down brick pavers isn’t a quick or easy process compared to other driveway edging materials, but you won’t have to think about upkeep once you’re finished with installation.
Installation Difficulty: Moderate
Cost Per Square Foot: $3 to $10
“The strongest materials for edging a driveway are commonly available masonry products. Keep in mind that it is the driveway pavers that take most of the beating, so the borders will likely stay in better shape over time.”
Roget Ghawi, Bayside Pavers
How to Edge a Driveway
While each type of driveway border has a different step-by-step installation process, there are a few general guidelines you should follow if you’re using pavers, Belgian blocks, cobblestone or bricks.
- Inspect your driveway edges to make sure they are straight and level. If you have an asphalt driveway, you may need to cut the edges with a saw. Draw a chalk line before cutting to ensure a straight edge.
- Dig trenches along the sides of your driveway. This will hold your border in place and create a foundation for suitable drainage. The width and height of your trenches will depend on how many blocks you choose to use. As a general rule, check that the trenches are level.
- Add a one-inch layer of concrete to the trench after it’s mixed to a stiff consistency. Start by only filling the trench with enough concrete to prepare for a 5-block section of your edging material.
- Place your blocks against the driveway while the concrete is still wet. Confirm that they are level and sit against the edge. To ensure the blocks stay in place, use a mallet to tap them down until they are secured in the trench.
- Fill in extra trench space with concrete until it’s level with the driveway’s surface. Keep it about two inches lower than the top of the blocks.
- Gradually continue to fill the trench by pouring a section of concrete and laying the blocks in 5-piece increments. Repeat this step until your driveway is completely surrounded by a border.
“Since driveway borders have both a functional and aesthetic purpose, the more important consideration is ensuring that proper underground drainage is installed around the borders.”
Roget Ghawi, Bayside Pavers
How Else Can I Improve My Home’s Exterior Aesthetic?
With so many different edging materials to choose from, you’ll be able to find a driveway border you like that’s protective and boosts curb appeal. Check out these other resources to tackle more outdoor improvements.