DIY: How to Build a Walk-In Closet

How to Build a Walk-In Closet
A walk-in closet is something almost every homeowner dreams of. If you’re new to the DIY game, constructing entire walls may seem like a high-level project, but the fact is that you don’t need any special knowledge of carpentry to DIY your dream walk-in closet. In fact, a couple of enterprising individuals can build a walk-in closet over the course of a few days. Let’s get started!
What You’ll Need Before Building the Closet
- 2×4 boards
- 16D nails
- Stud finder
- Level
- Framing square
- Circular saw*
- Tape measure
- Carpenter’s pencil and/or permanent marker
*If you don’t own one, you can rent a circular saw at most home improvement stores.
What You’ll Need After Building the Closet
- Drywall
- Door(s)
- Paint
- Desired storage options

As you prepare to build a walk-in closet, it all starts with 3 measurements:
- Your closet’s height from floor to ceiling.
- The length of its usable wall space. For walk-in closets, this includes the back and side walls.
- The depth of the closet.
These three measurements are critical, as they will impact the depth of the shelving you can use, the amount of shelving and hardware you’ll need, and what options you’ll be able to add to a basic configuration.
ClosetMaid | How to Design a Closet

Preparing to Build a Walk-In Closet
Once you’ve got your materials in hand, it’s time to lay the initial groundwork for building your own closet.
1. Choose a Location for the Closet
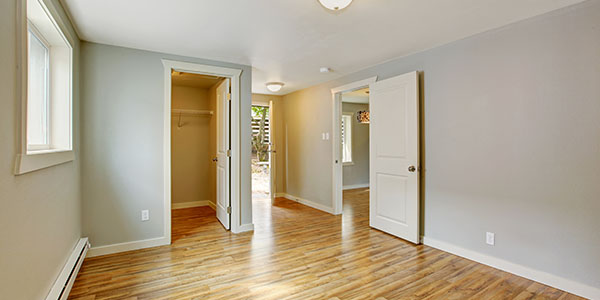
You have two options when deciding where to build your own walk-in closet. If possible, you can frame off an alcove in the desired room. If the room instead has an open layout, you can frame a space along one or two existing walls.

If you are doing any demolition to make your closet, ensure none of the walls you’ll be cutting through are load bearing. Damage from cutting through a load-bearing wall is dangerous and expensive to fix! It’s not always easy to tell if a wall is load bearing—if you aren’t 100% sure, get a professional opinion.
Worthington Design & Remodeling

2. Decide On Your Layout
In order to plan the size and layout of your walk-in closet, you’ll need to ask yourself a few questions:
- Will you use a swinging door or folding doors? This is important for determining how much space you need in front of the closet.
- What are you storing in it? Will it be just your clothes/shoes/accessories, or are you planning on storing other items as well?
- What type of storage options (i.e. rods, shelves, hooks, cubbies) do you plan to incorporate?
- Do you plan to include non-storage elements, like a spot to fold or iron clothes?
- Do you have mobility considerations to take into account when spacing things out?
Draw up a rough sketch of what you want your closet to look like, then begin testing mock layouts in the intended space to determine dimensions. An easy way to do this is to use string and tacks to stake out different layout options. When you find a layout you like and think will work within the space, you can then easily measure the strings to get the dimensions.

While deciding on your layout, remember these handy tips from ClosetMaid:
A good rule of thumb for calculating hanging space: allot 1 inch per item. But don’t forget that bulky items like seasonal coats need more room, so give them 1.5-2 inches of space each.
To maximize your closet’s full potential, create a double-hang space within your design. By hanging the tops up top and bottoms below, you can double capacity while making outfit matching fun and easy.
Long-hang space for dresses and coats should be placed at an easily-reachable 70 inches from the ground.
ClosetMaid | Calculating Storage Space
3) Check Whether Permits Are Required
You may or may not need a permit to build a closet in an existing space. Contact your city’s building department to make sure of the laws in your area. If you will need to add lighting to your closet space, you or your electrician will almost certainly need an electrical permit.

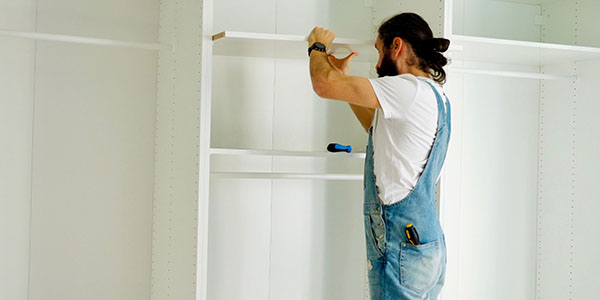
If you’ll be eliminating an existing closet in favor of your brand-new walk-in closet, keep in mind that you can reuse storage elements from the old closet if desired. Use these quick tips from ClosetMaid on how to dismantle a closet system:
- Remove the pole portion of the system, by either lifting it out or unscrewing any brackets.
- Remove any planks that have served as shelves by unscrewing them.
- Remove any support boards by unscrewing them.
The steps used to remove a wire storage system are similar, but may require additional tools, such as a pair of pliers and a step ladder. You’ll use the pliers to pull out any pins used to anchor the support brackets to the wall.
ClosetMaid | How to Remove an Existing Closet
Building Your Walk-In Closet
Getting Ready
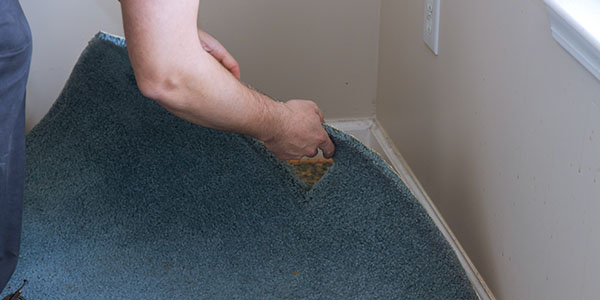
If your room is carpeted, pull up the carpet, underlay, and tack strips in the space where you plan to build the closet. Roll the carpet back and out of the way. When you’re finished with the project, you’ll cut it to fit around the closet and tack it back down.
Pry the baseboards off of any sections of existing wall that will become part of the closet.
Measure along whatever existing wall you’ll be using and find the studs that are nearest to the dimensions where you’ll want to put each of your new walls into place. You need a stud so that you have something to anchor your new walls to.
Use a 2X4 to draw a straight line from floor to ceiling along those studs. Once they’re constructed, you’ll line your walls up with these lines.
Constructing Your Walk-In Closet
Cut two 2x4s to the length of the first wall you need to construct. These will be your header and footer plates.
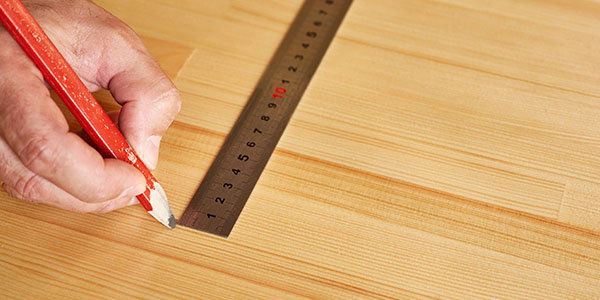
Use a tape measure and a permanent marker to mark stud spacing on both 2X4s. Remember that studs must be spaced “sixteen inches on center,” meaning that the center of each stud is 16 inches from the center of the next.
For as many studs as you will need for the wall, cut 2x4s to the height you want the wall to stand. Add an additional 2studs to your count to serve as end caps.
Nail one stud at each end of the footer plate, and nail the remainder into their slots. Nail the header plate on top.
Repeat the Prep and Construction steps for each wall you’ll build.
You will construct the wall containing your door in basically the same manner as above. On your footer plate, mark the space where the door will go, then mark for studs using the above method, simply skipping over the door space.
Nail in your studs and header as normal. Then create a “door header” by cutting a 2×4 to the width of the door and nailing it across the gap at door height.
Raising the Walls
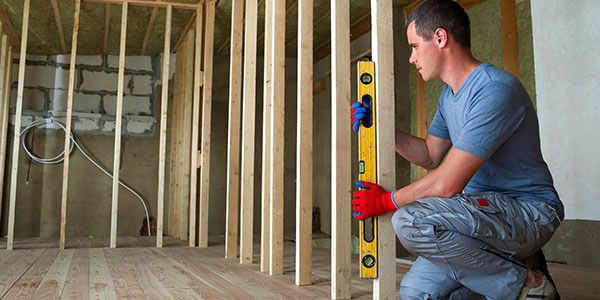
Lift your first wall into place, lining it up with the marks you made on the existing wall. Use a level to ensure that it sits straight. Use shims where necessary to make it level.
Secure it to the existing wall by nailing through the end stud into the existing wall every 2 feet.
Anchor it to the floor and ceiling by nailing between studs liberally along both the header and the footer plates.
Repeat this process for all walls.
Adding Structural Support
Wherever you feel you may need extra structural support to hang shelving and other items, cut sections of 2X4 to fit between studs, and nail them between the studs at those locations. When in doubt, go crazy. More studs just mean more options for hanging things in the future.

To complete your closet, think into every detail to make it feel professional. Carpet is warm and soft first thing in the morning, but hardwood feels elegant and polished. Light the room brightly and mimic natural light as closely as possible to help see colors accurately.
Worthington Design & Remodeling
Want to keep your new walk-in closet neat and tidy? Learn about innovative organization ideas!
