How to Remove & Reinstall Baseboards Without Damaging Them

Your Step-By-Step Guide to Removing & Reinstalling Baseboards
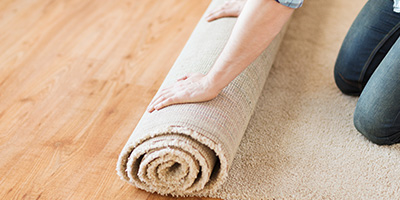
Baseboards are those nice pieces of molding that fill the gap between your floor and walls, turning those sharp edges into decorative accents. But as many homeowners know, those little pieces of carpentry can become a big obstacle when ripping up carpet, or even installing hardwood floors.
Fortunately, removing and reinstalling baseboards are pretty straightforward projects. All you need are a few basic tools, a gentle hand and a little elbow grease.
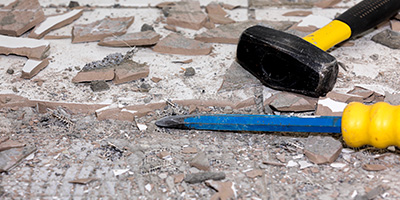
Getting rid of your old flooring?
Check out our Dumpster Rental 101 Guide to see which container is best for your project!
How to Remove Baseboards
Tools You’ll Need for Baseboard Removal:
- Hammer
- Putty knife
- Utility knife
- Small pry bar
- Pliers
- Pencil
Step 1: Prep the Baseboards
When removing old baseboards, start by checking the corners and tops of the molding for any caulk or other sealant, then cut through it with a utility knife. This will prevent the paint and wood from pulling away with the trim once you start prying.
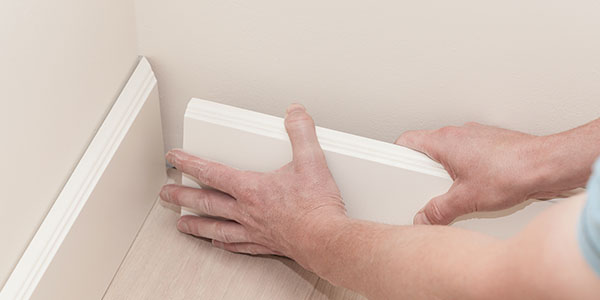
Step 2: Double-Check the Cut of the Inside Corners
To ensure you don’t damage the baseboards while removing them, double-check the inside corners to see if they’re mitered or coped. Mitered corners meet at a 45-degree angle, whereas coped corners overlap each other using beveled cuts. If yours are coped, you’ll need to remove the coped side first to prevent damaging the other piece.
Step 3: Start Loosening the Baseboards
Work a putty knife between the top edge and the wall, being careful not to crack the top part of the board. You should focus on the areas where the baseboard is attached to a wall stud, loosening up the nails holding it in place.

Pro Tip: Do Not Pry Between Nails
Prying baseboard where there’s no nail can easily crack it. Make sure you are always prying near a nail so the force of pulling on the board doesn’t damage the wood.
Step 4: Pull the Boards From the Wall
Now it’s time to remove the baseboards using a pry bar. Slide the pry bar into the crack, making sure it’s resting against the middle of the trim and not the top edge. You should also slide the putty knife behind the pry bar so you aren’t directly prying against the wall. Work your way from one end of the baseboard to the other until it is completely free.
Step 5: Remove Any Nails Left in the Trim
Use a pair of pliers to remove any remaining nails through the back of the baseboard. You do not want to try hammering the nails through the face of the board as this will chip the paint, or possibly damage the wood itself.
Step 6: Number Each Board
This extra step will save you a lot of time when it comes time to reinstall your baseboards. Using a pencil, write a number on the back of each board representing the order in which you’ll reinstall them. Then, mark each board number on the section of wall where it will be reinstalled.
Check Out Dumpsters Near You
How to Reinstall Baseboards
Tools You’ll Need to Reinstall Baseboards:
- Nail gun
- Finishing nails
- Nail set
- Paint & Brush
Step 1: Paint the Baseboards Beforehand
Apply a new coat of paint or finish to your baseboards before installing to remove any marks or discoloration they’ve picked up over the years. This will also make it easier to add any touch-up paint they need after going back on the walls.
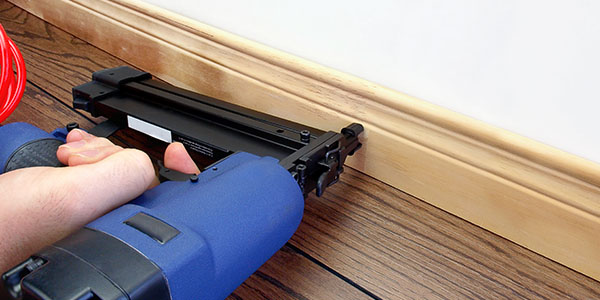
Step 2: Nail the Baseboards Back in Place
Starting with your first numbered board, use a nail gun to reinstall each baseboard with finishing nails. Typically, you only need one nail for each wall stud and two for each end of the board.
Step 3: Sink Your Nails
Use a nail set to tap the nails just below the surface of the board. If a nail starts to bend, slide your putty knife between the nail head and board, then pull the nail out with a pair of pliers. Renail the board in a different spot and remember to spackle the old nail hole.
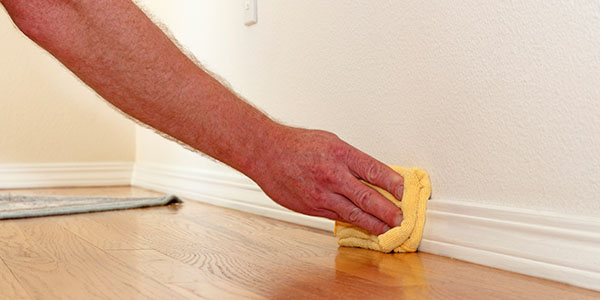
Step 4: Spackle and Touch Up the Baseboards
After reinstalling your baseboards, fix any damage by filling it in with spackle or wood putty. Also make sure to fill in the nail holes before painting over them.
After you’ve reinstalled your baseboards, you can finally relax and enjoy your new flooring, whatever it may be.

