How to Remove Laminate Flooring

Simple Steps to Remove Laminate Flooring
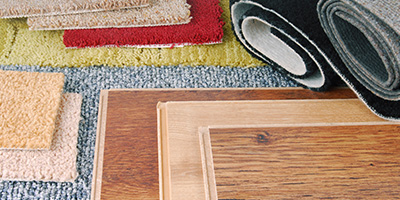
Laminate is a terrific low-cost flooring option for many homes, and many types of laminate hardwood look as good as the real thing. The only downside? This material doesn’t last as long as real hardwood, so at some point, you’ll need to replace your laminate flooring.
How Long Do Laminate Floors Last?
Most laminate floors last between 15 and 25 years, but depending on foot traffic, this can vary from as little as 10 years to as many as 30 years. Signs you need to replace your laminate flooring include peeling, cracking and gaps between the boards.
In comparison, hardwood floors can last several decades with proper maintenance, especially with refinishing. Unfortunately, once the top layer of a laminate floor wears away, the only option is to replace it.
Are your floors past their prime? This guide will walk you through the best way to remove old laminate flooring in three simple steps.
What Tools Will I Need to Remove My Laminate Flooring?
The tools you’ll need for this project are fairly common and may already be in your tool box.
Tools You'll Need | Optional Tools |
|---|---|
|
|
If you don’t have any of these tools, you can buy or rent them from your local hardware store for a minimal cost.
How to Remove Your Laminate Flooring in 3 Steps
1. Prep the Room for Removal
Before starting, you should move all your furniture out of the room. If you’re removing laminate flooring from an entire room, you can pry the baseboards off the walls to save yourself some time throughout the project. If you plan to reinstall the same baseboards, be careful while removing them and label each one’s location in the room on the back.
Depending on how your flooring was installed, there may be a few additional steps to take.
Prep for Glue-Down Laminate Strips
Mop the floor before prying up the boards to soften the glue that’s holding the planks to the floor. Starting at an edge piece, use a heat gun to melt the glue while prying up the board.
Prep for Floating Floors
Remove any transition pieces first. These are the raised strips that separate adjacent rooms. Work your pry bar underneath the strip, being careful not to remove the u-track it sits in. This will allow you to easily remove any adjoining floor planks.

"Most laminate floors are installed as interlocking, floating floors. This means they simply lay on top of the subfloor with no adhesive. To remove them, you typically just tear the first one out and then unlock the rest and throw them away."
Ashley DeZeeuw, Laminate Category Manager, Flooring Inc.
How to Dispose of Laminate Flooring
Before you start tearing up your floor, make sure you figure out how you’ll get rid of the debris so you don’t end up with a big mess. If you have a small amount of flooring to dispose of, you can usually throw it in with your regular trash pickup. However, if you’re replacing an entire room’s worth of laminate flooring, we recommend renting a dumpster to make sure you can dispose of all your project debris at once.
Find a Flat-Rate Dumpster in Your Area

2. Tear Up Floor Strips, Starting at One Corner
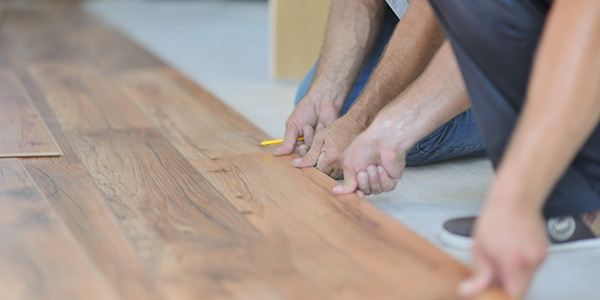
Once your prep work is complete, you can start removing the laminate flooring strips. Start at a corner or wall piece, using the gap between the wall and the board to work your pry bar underneath. If you feel resistance, use a mallet to hammer the bar into place.
Once the pry bar is under the board, you should be able to lift it up by 30 to 45 degrees. Continue working the bar underneath the rest of the board until it comes loose.
The best way to remove a glued floor board is to keep applying heat. If the planks are glued to each other, lift up a foot or more of the flooring at once and pull to separate them.
In some cases, you may find that your home’s previous owners installed new flooring over the old, putting one or more layers between the laminate you’re removing and the subfloor. If the flooring underneath looks like old linoleum or vinyl, do not tear it up with the rest of the laminate. Depending on when it was installed, it could contain asbestos. Before moving forward, test the material to see if it’s safe to remove yourself. If this test is negative, you’re good to proceed.

"You never know what’s underneath the laminate. Sometimes you get a perfectly smooth concrete slab (this is what you’re hoping for) or sometimes you find layers of other floors hiding beneath. It’s kind of like a scratcher lottery ticket – anything could be underneath that floor once it’s pulled up."
Ashley DeZeeuw, Laminate Category Manager, Flooring Inc.
3. Scrape or Sand Off Leftover Adhesive
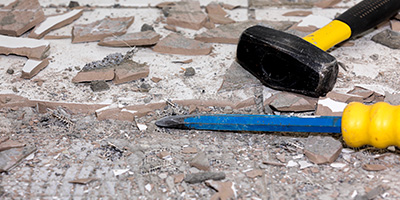
If the laminate flooring you’re removing was glued to a concrete subfloor, there will likely be a lot of adhesive residue left over. A floor scraper is a great tool for removing glue or any other debris that’s stuck to the concrete. Simply run it along the surface at a 15 to 30-degree angle, and replace the blade if it starts to dull while you’re working.
If the laminate flooring you’re removing was attached to a wood subfloor, use an orbital sander to remove any remaining adhesive. Make sure you wear safety glasses and a mask while sanding to avoid irritating your eyes or throat.
You should also evaluate the condition of your subfloor during this step. Its lifespan depends on the materials used and the amount of moisture they’re exposed to, but there are 9 common signs it’s time to replace your subfloor that should be checked before installing new flooring.
If your subfloor isn’t in great shape but not in need of replacement, the experts at Flooring Inc. recommend replacing your floors with SPC or WPC vinyl, as they are dense, waterproof and help hide subfloor imperfections.
Don't get overwhelmed by leftover junk!
Follow our Bulk Waste Disposal Guide!


