A Step-by-Step Guide to DIY Bathroom Remodels
DIY Bathroom Remodel: A Step-by-Step Guide
The bathroom is where most homeowners start and finish each day, but this frequently-used space is often overlooked when considering home improvements to make. Feeling embarrassed about your dated bathroom when guests come over to visit? We'll help you remodel your bathroom while keeping costs low.
By going the do-it-yourself route, especially for gutting the bathroom, you can expect to save as much as a few thousand dollars. Other cost-saving tips for a bathroom renovation include limiting the use of expensive materials like tile and refinishing fixtures instead of buying new.
Follow these seven steps to complete a top-to-bottom bathroom remodel.
How to Plan for a Bathroom Renovation
Decide on Design Elements
Before you start remodeling the bathroom, choose a design that fits your vision, as well as your DIY skill set. There are many different ways to approach this project, ranging from repainting and swapping out the vanity to gutting the space and starting from scratch.
Here are a few details you absolutely need to nail down before you begin your bathroom renovation:
- Color scheme: Interested in a modern farmhouse look? Or are you looking for a clean, contemporary design to match the rest of your home decor? Find inspiration photos for your vision ahead of time to make sure your new bathroom tiles don’t clash with your choice of paint.
- New fixtures: Will you replace your shower or tub? Are you installing a new sink? Replacing one or both of these fixtures will add to your project’s timeline and budget.
- Storage spaces: Where will you keep your towels and toiletries post-remodel? If you’re removing a closet to expand the room, make sure you have shelving or cabinets to make up for the lost storage space in your bathroom.
- Location of utilities: Do you know where the electrical wiring and plumbing pipes are located? Keep these areas marked to avoid damaging these hookups and having to make expensive repairs.
Gather Your Tools
Beyond what’s already in your home improvement toolbox, there are some helpful tools to have on hand for a bathroom renovation.
Essential Tools and Supplies for a DIY Bathroom Remodel:
- Safety mask
- Gloves
- Goggles
- Caulking gun
- Silicone sealant
- Hammer
- Tape measure
- Spackle knife
- Spackle
- Stud finder
- Power drill
- Pry bar
- Bucket
- Chisel
- Adjustable wrench
- Flathead screwdriver
- Hacksaw
- Utility knife
- Chalk line
- Extension cord
Optional Tools We Recommend:
- Wet-dry Shop-Vac: Very handy in case any water spills while removing the toilet or another fixture.
- Cordless drill: Makes it easier to move around as you work and frees up your extension cord for other power tools.
These tools are available to rent at most home improvement stores for a minimal cost. You might even have a handy friend or family member who could let you borrow theirs.
How to Remodel a Bathroom in 7 Steps
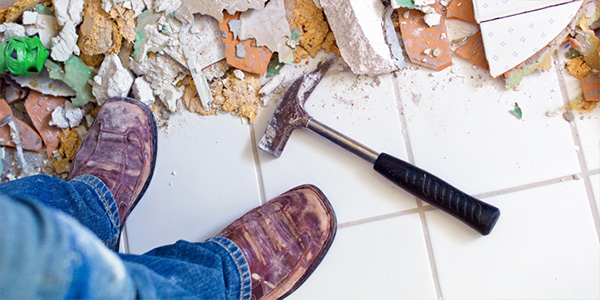
1. Remove Bathroom Fixtures
Assuming you’re partially or totally renovating your bathroom, you’ll need to start by removing drywall and any fixtures you’re replacing. Gutting the bathroom yourself isn’t too difficult, but make sure to follow these steps to avoid any costly mistakes during the demolition phase.
Tips for Gutting a Bathroom:
- Start by shutting off the water, draining and removing the toilet to avoid any unpleasant spills.
- If you’re removing your bathtub, cover up the tub and start removing the bath tile down to the studs. This is necessary in order to rework the plumbing to fit your new shower or tub design.
- Remove the insulation from your walls where necessary. Do not use a hammer on insulation. Instead, use a reciprocating saw to cut out the panels. Wear a safety mask, gloves and goggles to avoid injuring yourself.
- Finally, remove the vanity, cabinets, mirror, flooring and any other features you plan to replace. When removing tile flooring, it’s a good idea to take off the baseboards and reinstall them after placing your new floor.
Get rid of renovation debris easily by renting a dumpster.
DIY Bathroom Remodeling Tip: Renting a dumpster for your demolition debris will allow you to dispose of everything at once without having to drive to the local dump, cutting hours off your cleanup time.
2. Install the New Shower or Tub
After you’ve gutted your bathroom, you can start installing your new fixtures. If there are any signs of rotting wood or water damage to your subfloor, you should replace it before installing your new shower to prevent further damage.
For a shower or tub replacement, you’ll want to pick a pan or basin that fits your new decor, as well as the space where your current tub sits. Basins usually come in a rectangular, square or pentangle (one corner cut off) shape. When choosing a base shape, make sure you the other features of your bathroom into account, including the location of the door.
You could also consider installing a combination shower and bath tub if you have the space. While walk-in showers are more appealing to many homeowners, it’s recommended to keep at least one tub in the house for resale value.
DIY Bathroom Remodeling Tip: Installing a walk-in shower is a stylish, space-saving update to make in any home. If you’re looking to replace your bathtub with a shower stall during your bathroom makeover, check out this guide on how to convert a tub into a walk-in shower.

3. Lay the New Flooring
After prepping your subfloor, you can start installing your new flooring. While tile is the most popular choice for bathrooms, you may consider other flooring materials like laminate or vinyl which are more affordable and DIY-friendly to work with.
If you choose tile, use a mason’s chalk line to mark reference lines perpendicular (at a 90-degree angle) to the wall with the longest continuous line. This will allow you to keep your tiles in a straight line as you place them throughout the room. Find more tips for laying bathroom floor tiles here.
4. Hang Drywall and Start Painting
The next step in your bathroom remodel is to hang your new drywall. This can be time-consuming, as you have to cut the new drywall to fit around your shower walls, vanity and other features. Once you start nailing up the boards, though, you should be able to get through this process quickly.
These are some important DIY bathroom remodeling tips to keep in mind during this step:
- Use drywall mud and tape to cover seams and fill in gaps.
- Use cement board instead of drywall for the shower/tub wall.
- Coat the cement board with Redgard or another waterproofing membrane to guard against water damage.
After you’ve put your walls back together, you can start adding some color to your bathroom. Painting the walls is one of the easiest and most cost-effective ways to freshen things up and give your space a whole new look. It’s best to use paint with a semi-gloss finish, which is easy to wipe down and resistant to mold and mildew.
DIY Bathroom Remodeling Tip: While you’re rehanging drywall and painting, it’s the perfect time to start retiling your shower and tub area if you plan to do so. Check out these handy tips to follow when tiling your bathroom walls or adding a backsplash.

5. Install Cabinets and Vanity
After you’ve taken care of the walls, you can bring in the vanity, cabinets and any other major items left on your bathroom renovation punch list.
Install the vanity first, including the sink and faucet. Once you have the drain hooked up to the faucet, you can move on to the other essentials such as the mirror, cabinets and trim around the shower or tub.
DIY Bathroom Remodeling Tip: Don’t have the budget for a new vanity? You can still renovate the room in a cost-effective way. Refinish and paint your existing bathroom cabinets, and add new hardware to achieve a brand-new look for less.
6. Update Lighting
Configure electrical fixtures and install your new lighting. If their dimensions are bigger or smaller than your current ones, you’ll need to adjust the wiring and potentially spackle around existing holes in the wall.
This step may involve moving the power outlets if your new vanity fills the space differently from what you had before. After all, you don’t want to be reaching down next to the toilet to plug in your hair dryer every day. You should call in an electrician for this step, especially if you have never worked with home wiring before.
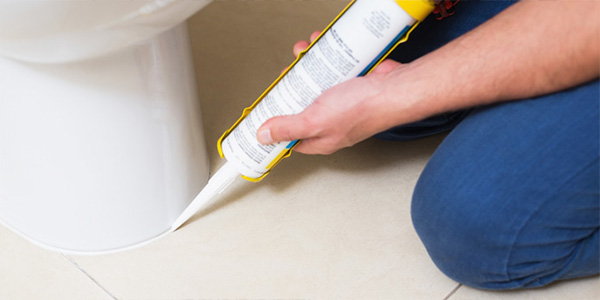
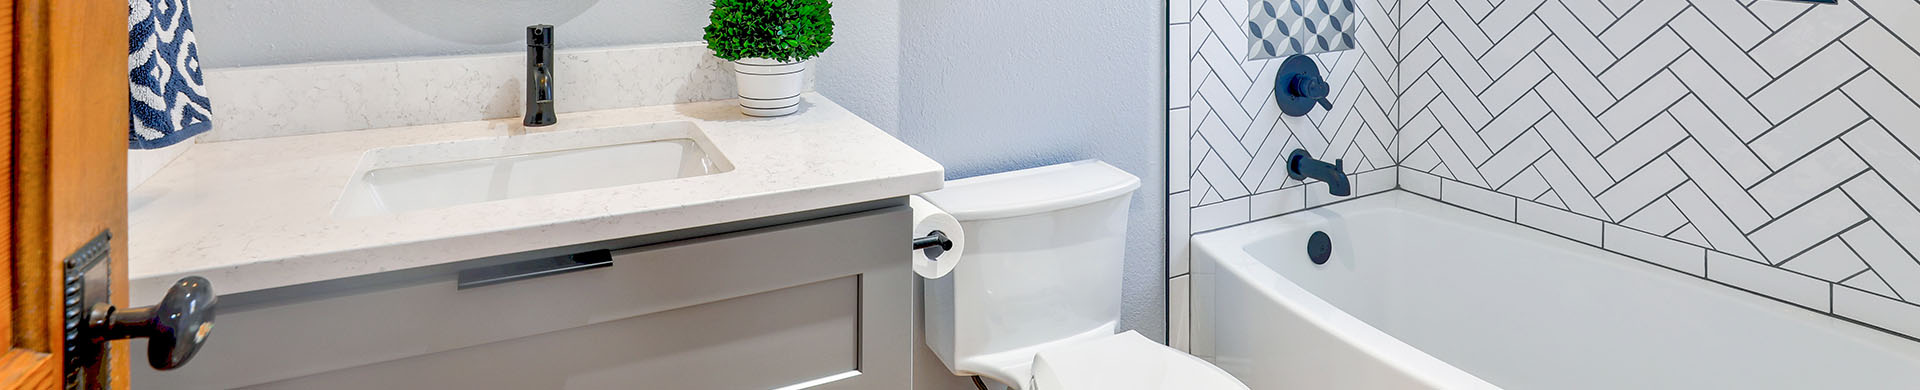
7. Hook Up the Plumbing
At this point in the process, your bathroom actually resembles a bathroom, except for one thing: the toilet. You could reinstall your toilet or put in a new one earlier in the process, but leaving it for last helps you avoid chipping it while working on other areas of the bathroom.
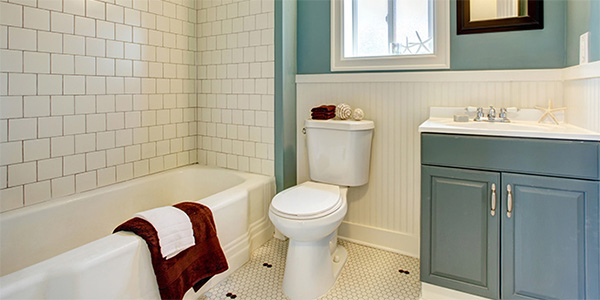
Add the Finishing Touches to Your Newly Remodeled Bathroom
Finally, you can install the trim around the room and start decorating. The trim is the capstone for every bathroom renovation as it provides the last bit of detail your space needs to feel complete. Add window treatments, decorative storage containers and pictures on the wall to personalize the room. Then, take a relaxing bath or shower and enjoy the new space you’ve worked so hard on!
Remodeling your bathroom on a budget? We'll help keep costs low.
Read More Like This
Feeling inspired and ready to tackle other remodeling jobs in your home? Check out these DIY home improvement guides to get started.