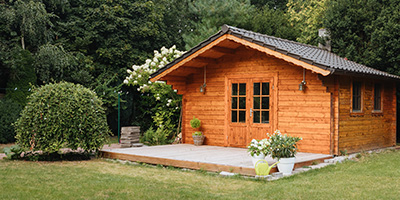
DIY Garage Bump-Out Addition: Your Simple Storage Solution
How to Build a Garage Bump-Out Addition
Running out of room for your cars and tools? Add onto your existing garage to upgrade your storage space and clear away clutter. In this helpful guide, we’ll teach you how to build a garage bump-out in seven steps.
What is a Garage Bump-Out?
A “bump-out” is essentially a home addition for your garage. In basic terms, you’re adding onto your existing garage for more storage or to make room for a third car. There are many perks to having a garage bump-out addition, but you should only tackle this project if you’re an experienced DIYer. If any of the higher-level steps exceed your skillset, consider calling a professional contractor. That said, you can still cut costs by siding and roofing the extension yourself.
Make Garage Extension Plans
Before adding onto your existing garage, you should declutter the space. Get rid of any unnecessary tools, decorations and old toys to give yourself a fresh start. If you’re tossing lots of clutter and household junk, rent a dumpster for an easier cleanup. Once your garage has been cleared out, you can build the bump-out addition. Considering the complexity of this project, we recommend setting aside at least three weekends to finish the job. See if friends and family members will help out – many hands lighten the load!
“Be realistic about cost, the time commitment and your skill levels. You should be prepared to bring in others for additional help, or consider working with a professional.”
Jon Alexander, Sunshine Construction
Calculate Your Garage Expansion Cost
To estimate your total cost, you should first establish why you’re building the garage extension. Depending on what you need the extra space for, you could add another car port for around $6,250. Looking to add storage space or room for an additional car with your garage bump-out? You’ll pay anywhere from $10,000 to $25,000, depending on whether you work with a contractor or not. You should also plan for finishing costs, as you’ll need to install new floors, siding and roofing in your garage bump-out addition.
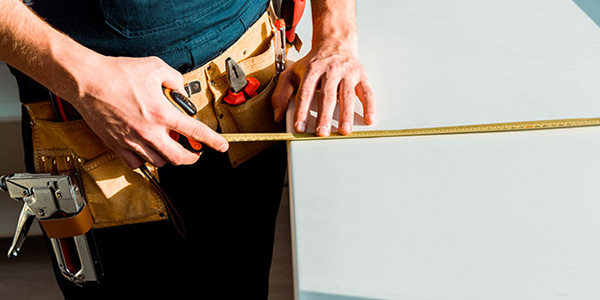
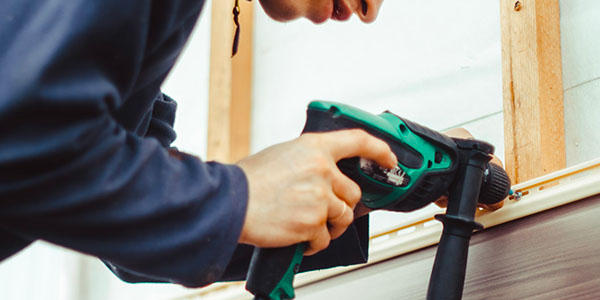
Gather Your Tools and Materials
Before starting your DIY garage addition, make sure you have the right tools and materials for the job. Along with solid carpentry tools, you’ll need some heavy-duty equipment to complete this project.
Tools Needed to Build a Garage Bump-Out:
- Hammer drill: A powerful hammer made for hard-faced surfaces. You’ll need this tool to create a sturdy foundation for your garage bump-out.
- Concrete anchors: Large, thick screws that secure wooden beams to concrete.
- Tie plates: Silver plates needed to support your bump-out.
- Reciprocating saw: A machine-powered saw that cuts wooden beams to size.
- Level: Used to keep your walls straight and even.
- Ladder: Needed to install roof shingles, gutters and high storage shelves.
- Safety goggles: Recommended to protect your eyes from dust and debris.
- Gloves: Recommended to protect your hands from wood and sharp tools while you’re working.
Materials Needed to Build a Garage Bump-Out:
- Wooden beams: Required to build the outline and walls of your extension.
- Wall studs: Wooden, vertical framing that will help you outline the addition.
- Double trimmers: Metal beams that support the walls and header of your bump-out.
- Plywood: Needed to make the roof and foundation of your extension.
- Wood preservation treatment: To ensure your outline endures the test of time (and termites).
- Concrete: Required to make the floor and foundation of your garage bump-out addition.
- Roofing felt: A thin underlayment that protects your roof from excess moisture.
- Vinyl siding: Needed to finish the outside of your extension. Make sure to buy the same siding as the rest of your garage!
How to Build Onto a Garage
Not sure where your bump-out should go? Pick a wall that isn’t too close to your patio or surrounded by outdoor fencing. Family Handyman recommends building a 5 by 12-foot garage bump-out so you have ample room for lawn equipment, tools or another car.
1. Build a Header
Outline the bump-out wall using wooden beams and double trimmers. This ensures your roof will be supported after you remove the wall. If you have a two-story garage, have a general contractor install the header to keep the building intact. When you’re ready to move forward, outline your DIY garage addition by following these three steps.
Find a suitable spot. Pick a spot for your garage bump-out addition and mark it accordingly.
Mark the opening. Make two 3-inch marks beyond the indoor bump-out opening. Ensure the inside opening will be seven inches narrower than the width of your extension.
Cut the header. Using your reciprocating saw, cut two 10-inch headers to length and nail them together. Then, nail a two-by-four to the bottom of each header. We’ll help you attach it to your garage in Step 3.
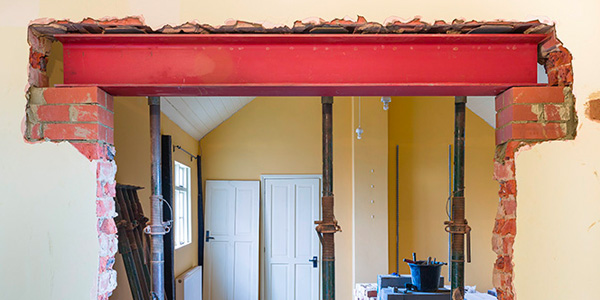
2. Remove Your Existing Garage Wall
Once you’ve outlined your DIY garage addition, take out the existing wall. Considering the important utilities a garage contains, make sure you don’t remove a load-bearing wall. We recommend having a professional inspector determine if the wall is structural. If it is, choose another spot for your bump-out. Learn how to properly knock down a wall before starting this phase of the project.
3. Make a Base
Using your hammer drill and concrete anchors, build the foundation of your garage bump-out by following these steps:
Mark the spot. Take a 12-foot piece of plywood and nail it to the existing wall, 18 inches above your garage floor.
Make holes. Dig two 1-foot-deep holes for the posts of your extension, keeping them 12 feet apart.
Fill the holes. Pour eight inches of concrete into both holes.
Install the posts. After the concrete sets, install two treated four-by-four posts into each footing hole.
Secure the foundation. Pack soil around each post, being careful to keep dirt from getting under the joists.
Frame the floor. Connect the posts together with a 12-foot wooden beam and hurricane ties. Measure from the beam to your existing garage floor and cut four pieces of plywood according to this length. Secure each piece of wood to your garage and the beam, spacing them three feet apart.
Fill the gaps. Pour concrete into the gap between your existing garage floor and bump-out floor. You can level it with a two-by-four you don’t plan on using.
Attach the header. Secure the header to your existing garage wall and bump-out floor with hurricane ties.
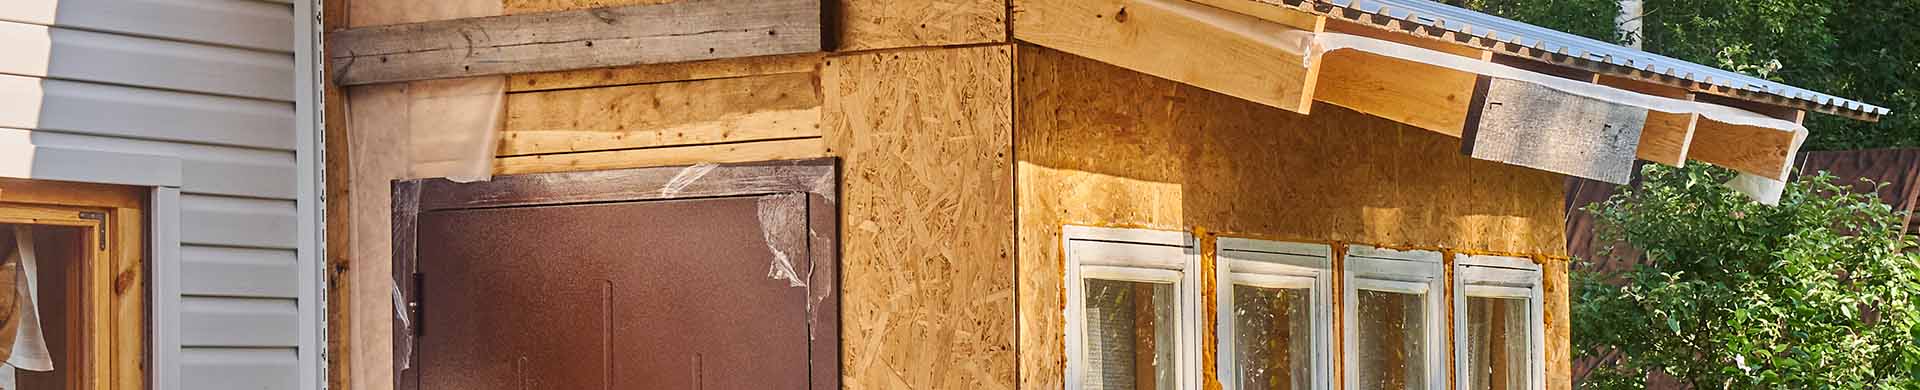
4. Build the Walls of Your Bump-Out Addition
To create sturdy walls for your DIY garage addition, follow these steps:
Find a firm surface. Start building the walls of your garage bump-out on a flat surface.
Build the taller wall. To make the 12-foot wall, take the length and width of your bump-out opening. Add three inches to the length and seven inches to the width. Cut four wooden beams according to these measurements – two for the length of the wall and two for the width. Mark stud locations on the ends of each longer beam.
Stand it up. Use these stud locations to nail your short and long beams together. Then, you can stand the wall up and nail it into your bump-out floor.
Build the two shorter walls. For the two 5-foot walls, measure from the front of your extension to your existing garage wall. Cut four wooden beams using this measurement and the height of the taller wall to build your short walls.
Connect the walls together. Cut tie plates according to the measurements of your 12 and 5-foot walls to ensure they fit together.
Reinforce the walls. Screw your short walls into the bottom plate of your garage floor.
Finish the walls. Use tie plates to complete both walls, making sure they don’t touch or overlap.
Secure the outline. Attach the outline to your garage using your level and concrete anchors.
5. Add a Roof
After building the walls of your DIY garage addition, you can add a roof and cut the rafters. This is the most important part of the job, as you don’t want to expose your tools or stored belongings to the elements!
Draw a line. Use your chalk line to mark the middle of the bump-out addition, ensuring it’s parallel with your roof.
Pick a spot for your rafters. Make two additional marks on your roof’s overhang and the end of your bump-out. Use this length to cut your rafters to size.
Install the rafters. Nail the first rafter to the left side of your garage wall, installing it from the center mark to the overhang mark. Repeat this step on the right side of your garage.
Reinforce the rafters. You can do this with metal hurricane ties.
Connect them together. Install a two-by-six piece of wood (a ridge) where your rafters meet, nailing it into place.
Install gable trusses. Add gable trusses, the wooden beams that support your roof, installing them from the header to the end of each rafter. You should install three on each side.
Lay down plywood and roofing felt. Cover the gable trusses with plywood sheathing and roofing felt.
Shingle the roof. Install shingles with a staple gun, ensuring the pattern matches the rest of your roof.
6. Install Vinyl Siding
When your walls have been built and are sturdy, you can add vinyl siding. We recommend using the same color and finish as the rest of your garage to ensure the extension blends in.
Install one row of siding. Starting from the foundation of your garage bump-out addition, install your first row of vinyl siding and nail it into place. Make sure each piece overlaps by four inches.
Keep the pattern straight. Mark the top of the row using a chalk line, keeping the pattern aligned.
Add onto the first row. Using the top lip of the first row, start building the second row of siding. It should snap right into place.
Cover the entire wall. Continue this process until the wall is completely covered in vinyl siding.
Finish siding your extension. To secure the corners, install end channels where your siding stops.
7. Customize the Indoor Space
Once you’ve installed your garage bump-out, clear the inside of any dust and debris. Then, you can add shelves, hanging storage or cubbies for your belongings. Not sure where to start? While not exactly the same, these tips for organizing a shed could be useful. If you spend extended periods of time in your garage, you may consider heating it for year-round use.
“I would install floor-to-ceiling shelves in a garage bump-out. This is a great storage option, and you can even use old apple boxes for shelves."
Jon Alexander, Sunshine Construction
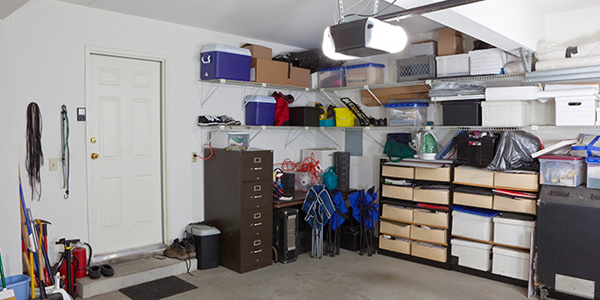
Start Using Your Garage Bump-Out Addition
After building your extension and designing the inside, you can organize your things. With a fresh DIY garage addition, you’ll park your cars without running over your bikes, tools or holiday decorations. It’ll be a nice change of space, to say the least.
Garage addition built and ready for move-in? Keep that new space clean with our Garage Decluttering Guide.
Read More Like This
Now that you have enough room in your garage, don’t let the rest of your house have FOMO. Whether you're looking to expand your kitchen or increase storage in your small bathroom, we have you covered.